Showing posts with label Chapter 18 - Canopy. Show all posts

Friday, July 19, 2019

Chapter 18 latch rod spacer, safety catch and IP panel cover

The latch rod 3/8" spacer is not per plans.  

The "dog leg" canopy latch handle is not per plans.  I did this to provide more clearance from the stick.

A square 3/8" spacer moves the latch rod outboard to alleviate interference with the safety catch.  The Chapter 18 FAQ advises to bend the rod to provide clearance.

The regular nuts will be replaced with locking nuts.

I made a template, cut the foam and took it outside to shape it.

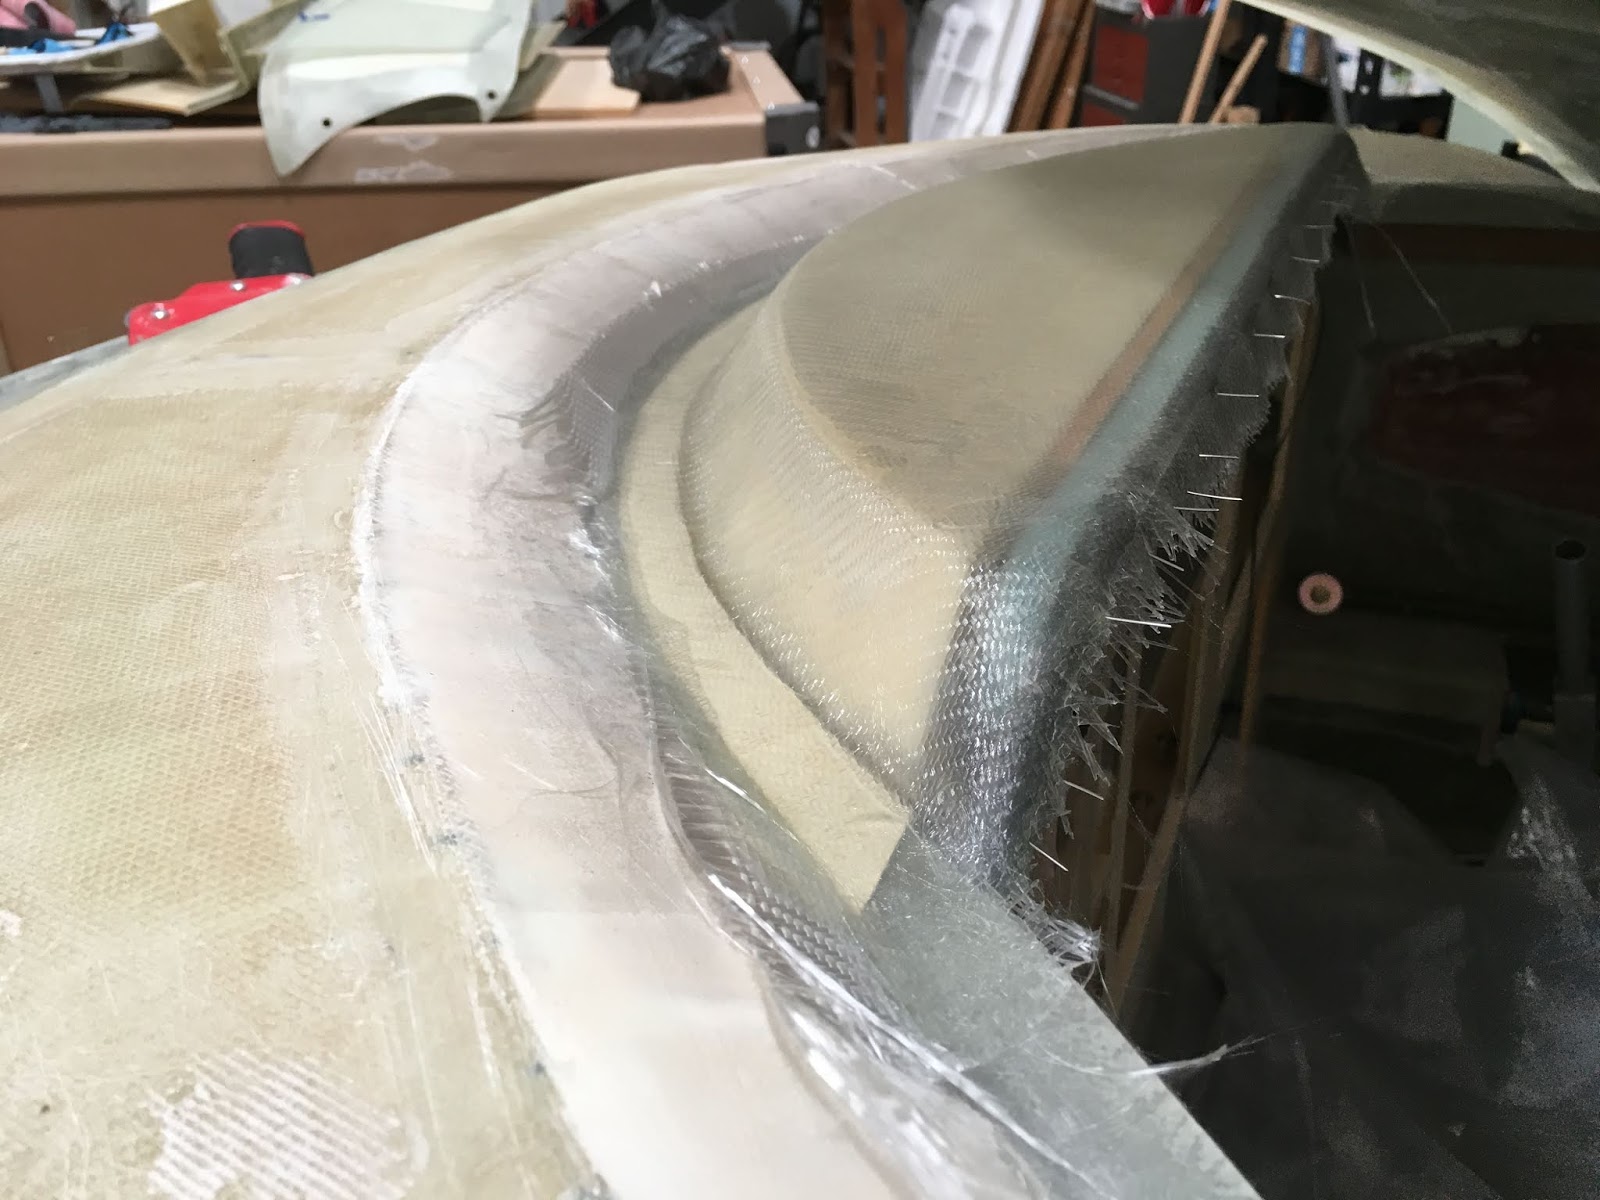
I made some stainless steel pins to help hold the glass down on the front.  Some manilla file folder paper was cut to provide a flat surface for the matting lip.   Box tape was used for release.  

(After cure) Some round weatherstripping cut in half provided the radius for the aft side of the form.  The yellow board was from signs like realtors use.   Cuts easily but stiff enough to provide support.

After trimming.


Friday, July 12, 2019

Vance's periodic visit/Canopy inspection

Vance stopped by to check on my work.   He approved of my new press and canopy hardware I'd recently made.  He commented that he put lightening holes in his handles, so I did the same later that afternoon.

I showed him TB1 had been an inch to far aft, cut it out and reglassed it to the plans location.
Also showed him how the previous builder had made the indention for the cut between the IP cover and canopy a little to far aft above the longeron, so I had to move the canopy catch further aft than plans.   I'm still looking at ways to externally latch and lock the canopy that aren't to complex.   Might put a handle inside the nose and have a locking nose door for access to the handle.

Neither of us are going to OSH this year.  Vance left a sight gauge to be delivered to OSH by my friend Don.   We went to lunch at one of our local favorites and had the chicken fried steak special.

Vance mentioned his 30 year old EI system had to be repaired by the new owner. One coil failed and the other was intermittent.  Probably had 2400 hours or more on it.

After Vance left, I realized I hadn't asked him all of the questions I had so will try to remember to put them in one of the journals I make notes in.

Friday, June 28, 2019

Chapter 18 Step 21 Canopy Handle

A hefty press brake is needed to bend 1/8" 2024 aluminum.   I have neighbors that offered to let me use their press brakes, but one put his back in storage and the other one cant bend 1/8" aluminum.   I bought most of the components to make a press brake off eBay that will fit in my 20 ton shop.  The 1" bars that hold the die in place were purchased from a local metal shop at scrap price.


Several practice pieces broke when exceeding the bend radius.   A scrap piece of thinner aluminum helped increase the bend radius of the blade by putting it between the work piece and the die.  The  removable bottom die was temporarily removed and replaced with angle iron to increase the bend radius.   I had to put some blocks under the press so the handle could hang down lower when doing the end bends.
 Heavy brackets for the oil cooler and throttle bracket parts are also needed so justified buying the press brake.    


Here's a chart for minimum bend radius for various thickness aluminum alloys & cladding:


Sunday, June 23, 2019

Chapter 18 step 19 C3

A 3/8" drive socket was used to hold the 3/8" stock so it could be turned.   My lathe only has three jaws so won't hold a square object centered.

Saturday, June 22, 2019

Chapter 18 Step 19 C8 canopy frame screw holes

After drilling the pilot holes for C8, I used the countersink from a Kreg pocket screw jig to bore the holes close to specs.   Then used the larger drill bit in a drill at first to get the depth closer.  Then I put the bit in an arbor to run by hand.   I made a feeler gauge to check depth and then cut teeth into a longer screw's head to flatten out inside face of the screw hole.  Have to be careful when drilling deep as the bits want to grab.  

Thursday, June 20, 2019

2019/6/20 Update - Canopy latch hardware

I was still lacking some of the canopy latching hardware.  I needed the 3/8" AL 2024 square stock but isn't listed on the common supplier web sites.  I found 12' of 6060 for $7 at a local metal distributor. 

The first set I made using a hand held drill.   It works, but the hole is slightly crooked.  Probably okay since the longeron is not straight either.   Maybe it's better to have it at an angle.  :-)

Anyway, I decided to make a few extra sets using the table top lathe.   I had to shim the stock to the correct height, but using scrap aluminum sheets of different thicknesses, got it aligned.   Using a straight edge, got the stock parallel with the drill bit, then used the carriage screw to center the stock.

A modified longer latch arm will be tried since there may be some interference with the Tosten military grip.  -update:  Added photo at the bottom.  Almost 500 flights with this modified latch.  Still lacking a way to lock the canopy, but I haven't given up yet.


Monday, June 17, 2019

2019/6/17 Update

Blogger, arbitrarily has decided to import some of these landscape photos as portrait.  I can't seem to rotate them within blogger.   

Anyway, I went to a local auto paint store and got some Nason Base "Chevy White" for only $80/gallon.   He also had some inexpensive clear coat that was "good" so will try that.   Also bought another HF HVLP paint gun since the clear needs to go on pretty quickly after the base is sprayed.

I continued to work on the head rests and also the canopy latch hardware.

Add caption


The gas spring in this drawing should show the ends with dashed lines since it should be on the foreward side of TB1.

Fairing, sanding, priming, painting...

Wednesday, June 12, 2019

2019/6/11 Update - Canopy TB1 redo, cowl interior sanding/filling, head rest mounting

The previous builder's canopy TB1 (turtle back bulkhead) was 1" to far aft and did not come down on the shoulder support/back rest.  It appears TB1 needs to come down on the shoulder support if there was a roll over.   I removed TB1 with the Fein tool and floxed and glassed it back in.  A 1x2 with bondo dabs held the canopy shape while it cured.  A friend watched me do some of the BID taping and commented he did not have the patience to do that type of work.

I also filled (West 410) and sanded the inside of the carbon fiber cowls to prep for epoxy primer.   Several folks said you want the inside to be light or white to make it easier to see.   Also a smooth finish will be easier to wipe clean. 

The bottom cowl already had some oil drips when some oil dripped out of one of the plastic spark plug caps.   I tried cleaning with wax grease remover (bleh), then Dawn (meh) and then used Gojo and rinsed it a few times, then used Dawn to clean off the Gojo and it seems to have cleaned it.   No evidence has appeared on the 410 filler.   Fly specs on some of the epoxy wiped surfaces come off easily with Woolite and warm water.

One of the Camloc holes needed to be repaired and some other small repairs were made on the cowl edges.

I trimmed the rear arm rests where the fuel site gauges protrude.   Then I sanded the arm rests and pondered whether to fill and sand them or just epoxy primer them.   I studied the inside of the nose where the SPI primer had been used to ascertain if the primer would fill the peel plied texture and see that one coat probably would be glassy smooth/easy to clean. 

I've only got one quart of Zolatone but think I'll only use it on the canopy and interior visible surfaces so may be enough.   I think some builders used two quarts, but they did everything including seat ribs, thigh supports and under the instrument panel.

The epoxy primer appears to be pretty tough.  A drop of flox had cured to a spot inside the nose and it was like it was stuck to glass.  It was strong enough to hold a wire harness and fuel lines in place.


Saturday, April 27, 2019

2019/4/27 update

This morning, added 4 BID 1" x 56" for rain lip on canopy.   Used fast hardener.   Trimmed this evening. 

Vance built up .3" in front of his canopy for .3" because the "banana effect" would pull the front of the canopy up a little.   I need to remember to do this.

Added 4 BID to fuselage cover at F28.  Used slow hardener, so wasn't ready for the nut plates yet.

Picked up 1 gallon of Southern Polyurethane Epoxy Primer in Mineral Wells at "Car Color".
Shopped for hardware to make canopy latch.

Used warm water and Woolite to clean bug specs off various parts.  I tried to use the water based "wax grease remover" that is 30% ammonia hydroxide but the water and woolite worked better, didn't require gloves or a mask.

Canopy gas spring, ball studs, SMC baluns, BNC bulkhead connectors, new headset are ordered.

Wednesday, April 17, 2019

2019/4/17 update

Canopy hinge installation is complete.
Pitot static tube is installed.
Canopy/Fuselage cover is cut.
Nose/nose cover is glassed.
Nose access door is cut.

Friday, April 5, 2019

Chapter 18 Step 23 Cabin Vents


This step looks like it should be quick and easy.  I deviated from the plans on how to connect the NACA inlet to the vent.

A 2 3/4" hole saw makes quick work of making the hole in the panel.  Some paper templates helped determine the hole needed to vary about .25" from where the plans specified.   

The 2.75" plugs cut from the panel made good components to make forms for the adapter that goes on the back side of the eyeball vent.

A chunk of  foam on the belt sander yielded a nice aerodynamic ramp without much effort.
The plans say to cut the NACA vent, then trim the inside 1/4" larger and remove the foam and micro.  Make a ramp in the foam.   
A scrap piece of foam has a nice ramp formed with the help of a bench top belt sander.


The 2.75" plugs from the panel holes, some cardboard tube, box tape, round backer rod cut into quarters and some left over strake foam were used to make forms.


The finished product for one side.

A binder clip was used instead of a Cleco to hold the NACA flap in place.  Some spring clamps hold the adapter in place.


The outside air temp probe will be mounted on the front side of the chamber.   Several folks suggest adding an avionics cooling tube. 


Update:  The OAT was installed in the pilot side chamber since it is out of the sun, and is a very short wire run.  On the co-pilot side the AP pitch trim bracket needed a little extra support so an angle bracket to this chamber to the AP servo eliminated flexing of the AP bracket.  I installed the original black plastic Whisperflo vents that notoriously don't shut completely off.  The newer vents are aluminum but get good reviews.

Wednesday, March 9, 2016

Chapter 18 Canopy


Microed the back edge of the turtle back,
Installed the Clark foam and plates for the rudder pulleys.


.
Inside engine mount reinforcement complete. 8 layers of BID, then the AL hard points then a layer of BID over those.   Took about 3 hours to cut the glass, cut and shape the aluminum and glass them in.   Not very comfortable.   One builder suggested doing the layups in a box, then transferring it.   I think I'd do that next time to avoid the discomfort of kneeling, squatting and setting back here.

  The front edges need trimmed and sanded.   These should be a little more rounded rather than square so here's a few extra ounces of weight.  OTOH, it might get used to help support a shelf for equipment that's going to get stuffed in here.