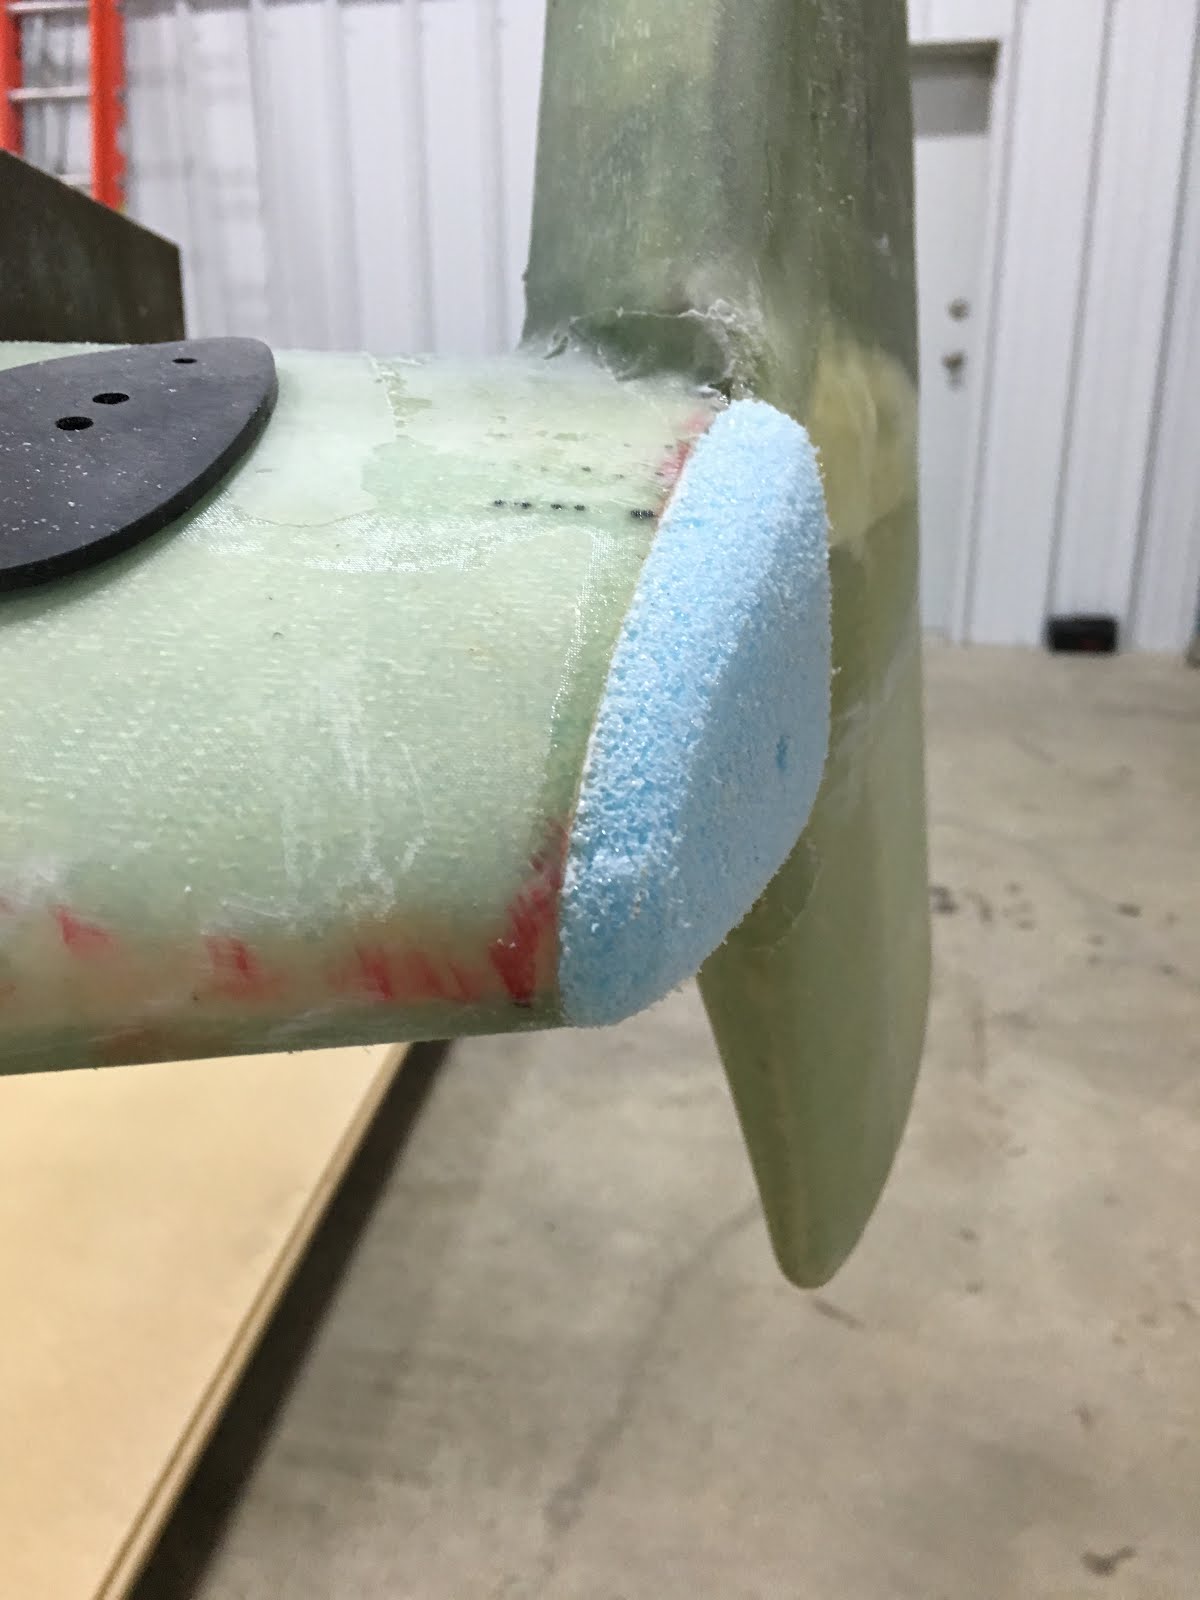
These draw 7 amps max. There's a wire to sync the strobe flash. The number of LEDs lighting for the strobe function changes whether the Nav lights are on. You'll see spots after you look at the strobes when they're lit. Fairing block attached temporarily with screws. I added another block and sanded down to fair in as shown in the plans diagram.
This is my supplemental builders blog for a Cozy Mark IV which is a 4-seat, single engine, homebuilt light aircraft designed by Nat Puffer, with parts and plans supplied by Aircraft Spruce & Specialty Co. The aircraft is built from plans using basic raw materials. It is not a kit aircraft, though many small parts are available prefabricated. The Cozy is similar in design and construction to the 2-seat Rutan Long-EZ, from which it is derived, with approval from Burt Rutan.
Pages
Chapters (Blogger Labels)
- Chapter 01 Description and Introduction
- Chapter 02 Bill of Materials
- Chapter 03 Education
- Chapter 04 Fuselage Bulkheads
- Chapter 05 Fuselage Sides
- Chapter 06 Fuselage Assembly
- Chapter 07 Fuselage Exterior
- Chapter 08 Head Rest and Seat Belts
- Chapter 09 Main Gear & Landing Brake
- Chapter 10 Canard
- Chapter 11 Elevators
- Chapter 12 Canard Installation
- Chapter 13 Nose - Nose Gear & Brakes
- Chapter 14 Center Section Spar
- Chapter 15 Firewall
- Chapter 16 Control System
- Chapter 17 Pitch and Roll Trim
- Chapter 18 - Canopy
- Chapter 19 - Wings/Ailerons/Attach
- Chapter 20 - Winglets & Rudders
- Chapter 21 - Strakes
- Chapter 22 Electrical System
- Chapter 23 - Engine Installation
- Chapter 24 Armrests Seats Fairings
- Chapter 25 - Finishing
- Chapter 26 Upholstery
- Cozy Builders
- EAA
- FAA
- Flight Testing
- Landing Brake and Center Console
- M Drawings
- Maintenance
- mods
- Skunk Works
- Trip reports
- Wheel Pants
Showing posts with label Chapter 20 - Winglets & Rudders. Show all posts
Friday, February 26, 2016
Chapter 20 hinge mods - Teflon tube inserts & click bonds replace screws.
One of the easiest mods which eliminates play and fretting of the hinges. A teflon tube is inserted a with smaller hinge pin and screws replaced with click bonds.

A Dremel with a router head attachment and depth set to create a recess deep enough to a click bond. To ensure the click bonds are parallel when floxing them in, I used a 1x2 block with holes to keep the click bonds straight. A 1" two ply BID strip was applied over the click bonds.
| Rudder prepped for click bonds. |


Wednesday, October 21, 2015
Sunday, September 6, 2015
Wednesday, September 2, 2015
Sunday, August 30, 2015
Chapter 20 Step 7 08/30/2015
Rudder hinges going on after layups cured.
The hidden rudder bell horn results in odd placement of the attachment holes on the bottom hinge. Click Bonds were ordered and will be used to eliminate the exposed screw heads like you might be able to see on the ailerons.
Also, where the extra lay ups are to reinforce the hinges are, should have been clamped down similar to how the hard points are done in the center spar. This would provide a flatter mounting surface for the hinges.
And... the -6 hinge has to be trimmed to fit as its to wide. Alternatives may be do take out more foam or order the -5 hinge instead.
And the last tidbit is, don't leave the hinge pin in if you're cutting the hinges with a band saw. The blade will spin the pin and it will remove the annealing. The pins may either be stainless steel or hard carbon steel and react with aluminum if not coated. Somewhere a Lancair builder has posted information about issues he's had with aileron hinges wearing and one thing he's found is to use a larger rods. Teflon tubing that can be inserted over the hinge pin to eliminate a little play and also to eliminate the steel to aluminum contact.
Monday, August 24, 2015
Chapter 20 Step 7 Left Wing 08/23/2015
Left rudder is cut out.
Glass cut for inside edges.
Layups are done with peel ply. Also ordered some Click Bonds to use to eliminate exposed rudder hinge screws.
Glass cut for inside edges.
Layups are done with peel ply. Also ordered some Click Bonds to use to eliminate exposed rudder hinge screws.
Tuesday, August 18, 2015
Chapter 20 Step 5 & 6 Aug 18 2015
The left winglet is on, both inside and outside layups are done and the lower winglet is attached. Another builder posted photos of a modified winglet that had a cavity for a camera looking toward the fuselage, belly and rear cowl of the air craft. Would be handy to see if all is well, prop clear etc.
Sunday, August 9, 2015
Tuesday, August 4, 2015
Chapter 20 Hidden Bell horns
*Hidden bell horns are a modification and not per original Cozy MK IV plans.
Getting ready for the inside and outside layups but need to install the hidden bell horns now while its easier. The original instructions are for installation in a LongEZ, Also the instructions for installation while you're building assume you haven't installed the rudder cable conduit yet, so the conduit (per original plans) needs to be positioned where it can line up with the cable attach point on the bell horn. The plans say you need (maximum) 26 degree deflection or 4.5 in. travel at the lower trailing edge. Also the cable swage needs .7 in. clearance between the conduit at maximum deflection.
After trying another position that seems to take advantage of the shape of the arm for clearing the corners, this may be better and attain the min/max deflection:
This position aligns better with the original plans location of the conduit.
In trail position:
Bell horn placement if using a 7.5" hinge point:
Edit-Update - in hindsight, the pocket that the bellhorn goes into needs to be large enough for a borescope to fit in (about two finger width). I made one a bit to small and have to remove the rudder to inspect the cable. The other is large enough for the borescope to fit in and look at the pocket where the thimble gets pulled into. Not getting the cable and peddle geometry correct can be hard on the cables if the rudder is bottoming out to soon before the brakes actuate.
Monday, July 13, 2015
Chapter 20 Step 4 7/13/2015
Vacation, work and personal life are making it hard to keep progressing. But anyway I've been trying.... Some day, I'm going to make fantastic progress. Unless I get paged at 0430 and... oh wait....Oshkosh is next week. Well maybe after that...dang the weather is getting hot. May have to move into air conditioned comfort to keep working on this.
The winglet was bondoed onto the wing and then flipped over, then I went on vacation. Then came home and found the foam I'd set the wing on had compressed enough to push down on the winglet and the bondo popped loose. So started over, set the wing a little higher and also stacked foam under the winglet tip to help steady it there.
I wasn't clear on which bottom winglet went where so emailed and got an answer. I'll be looking closely at others while in Oshkosh. There's been a lot of modifications by builders here with blended winglets, smaller lower winglets (or none), full length rudders, extended rudder travel. One prize winning builder told me in OSH that one thing he'd do differently would be to put a sacrificial piece of oak on the bottom of the winglet.
I remembered in my piles of parts I had the hidden rudder bell horns (in the photo laying approximately where it will be installed). With it were several versions of instructions. The URL on one set of instructions isn't valid anymore. There's plenty of builder web sites that turn into rabbit holes and I'll spend hours looking at them. No wonder these "pre-Internet" guys built faster than we do now. ;-)
The winglet was bondoed onto the wing and then flipped over, then I went on vacation. Then came home and found the foam I'd set the wing on had compressed enough to push down on the winglet and the bondo popped loose. So started over, set the wing a little higher and also stacked foam under the winglet tip to help steady it there.
I wasn't clear on which bottom winglet went where so emailed and got an answer. I'll be looking closely at others while in Oshkosh. There's been a lot of modifications by builders here with blended winglets, smaller lower winglets (or none), full length rudders, extended rudder travel. One prize winning builder told me in OSH that one thing he'd do differently would be to put a sacrificial piece of oak on the bottom of the winglet.
I remembered in my piles of parts I had the hidden rudder bell horns (in the photo laying approximately where it will be installed). With it were several versions of instructions. The URL on one set of instructions isn't valid anymore. There's plenty of builder web sites that turn into rabbit holes and I'll spend hours looking at them. No wonder these "pre-Internet" guys built faster than we do now. ;-)
Monday, June 8, 2015
Chapter 20 Step 3 6/8/2015
These have been setting for awhile, so vacuumed the dust off and double checked measurements. Wish there was a video how to do this. There's three pieces here, the wing, rudder and winglet.
Basically, cut a little bit out of the wing, fit the rudder and attach it and the winglet. Then cut out the rudder and attach the hardware. Wish it was as easy as it sounds.
Subscribe to:
Posts (Atom)
Relevant links for supplies and other info
- Cozy IV Specs
- Cozy Builders - Google Groups
- Unofficial Cozy Builders Site - updates to plans and much more information (maintained by Marc Zeitlan)
- Cozy Builders Mailing List, POH and other info
- Cozy Builders - Map
- Official Cozy Aircraft Site (outdated site)
- Canard Zone
- Central States Association - Facebook
- COBA Canard Owner and Builder Association
- Builder Sites (maintained by Erland Moen)
- Experimental Aircraft Association
- Rutan Aircraft Flying Museam
- Dennis Butler's Grand Champion
- aerocomposites.aero - Gear legs and fiberglass parts
- Aircraft Spruce Cozy IV Parts
- http://www.wicksaircraft.com/index.html
- 3:23 Composites
- SDS EI EFI
- Cozy Girrrls
- Skycraft Surplus
- www.enginegearonline.com/
- Infinity Aerospace
- NIck's web site
- https://www.stuarthose.com/
- http://www.tostenmfg.com/
- www.eurekacnc.com
- Featherlite (http://aerocad.com) parts
- http://aeroelectric.com/
- www.long-ez.com/
- Earl's Performance Fuel Systems
- FAA Amateur Built Operating Limitations
- FreeFlight Composites
- ADS-B blocking
- FAA - A&P / Experimental Builder Experience
- EZ.ORG moved to ez.canardaircraft.com
- Fiberglass Warehouse
- High Temp Epoxy
- Marc's Nose Gear parts