(update) *Not per plans/Cozy Girrrl Strakes. I added an additional rib (not seen in many of the photos) to prevent the problematic sag between the outer and inner rib. Check the template updates for the ribs. The inboard rib has an additional 1/2" loft my plans and ribs I built. don't have. :
 |
| T-hats on ribs untrimmed with peel ply removed after pulling the top skin off. |


 |
| T-hats trimmed with Fein multi-tool. |
 |
 |
| Bonding skin panels together. |
 |
| Elf at work. |
 |


 |
| Capacitive fuel probe. Fuel site gauge mounts in the cabin. |
 |
| Holes drilled for site gauges per instructions. |
 |
| Top left strake skin with box tape so it can be popped off when the T-hats cure on the strake ribs. |
 |
| Peel ply applied where T-hats will mate with top skin. |
 |
| Wet BID tapes applied to ribs/baffles. Then top skin is put in place, then the BID tapes were pressed against the box tape on the top skin. It's probably easier to use the sandwich method to wet and apply the tapes, but working overhead was a bit of a pain. |

 |
| Half inch wide masking tape applied between cuts, then micro is applied to fill the voids in the bent foam. Tape is removed before micro cures. |
 |
| T-hats with peel play after cure and the top skin is popped off. The additional rib is seen here. |
 |
| The R33 and R57 templates were made with the thickness of the skins added to ensure the left and right sides were symmetrical with the skins on the ribs. |


 |
| This is one of the harder parts to mate the skins together. When the leading edge is curled down, it pulls away leaving a gap at R33. |

 |
| Pour foam. |
 |
| High grit and slow speed worked fine on the pour foam. |
 |
| It would have been easier to cut this hole before glassing the TLE in place. |
 |
| Multiple layers of EZpoxy applied several hours apart to the top skin. |
 |
| The gap at R33 appears here. Pop sickle sticks helped control the shape of the top skin. |

 |
| A piece of safety wire pulls the pop sickle stick down to conform the skin. If you use this method, be sure to get some wet flox into the hole left by the safety wire when you glass the skins on. |


 |
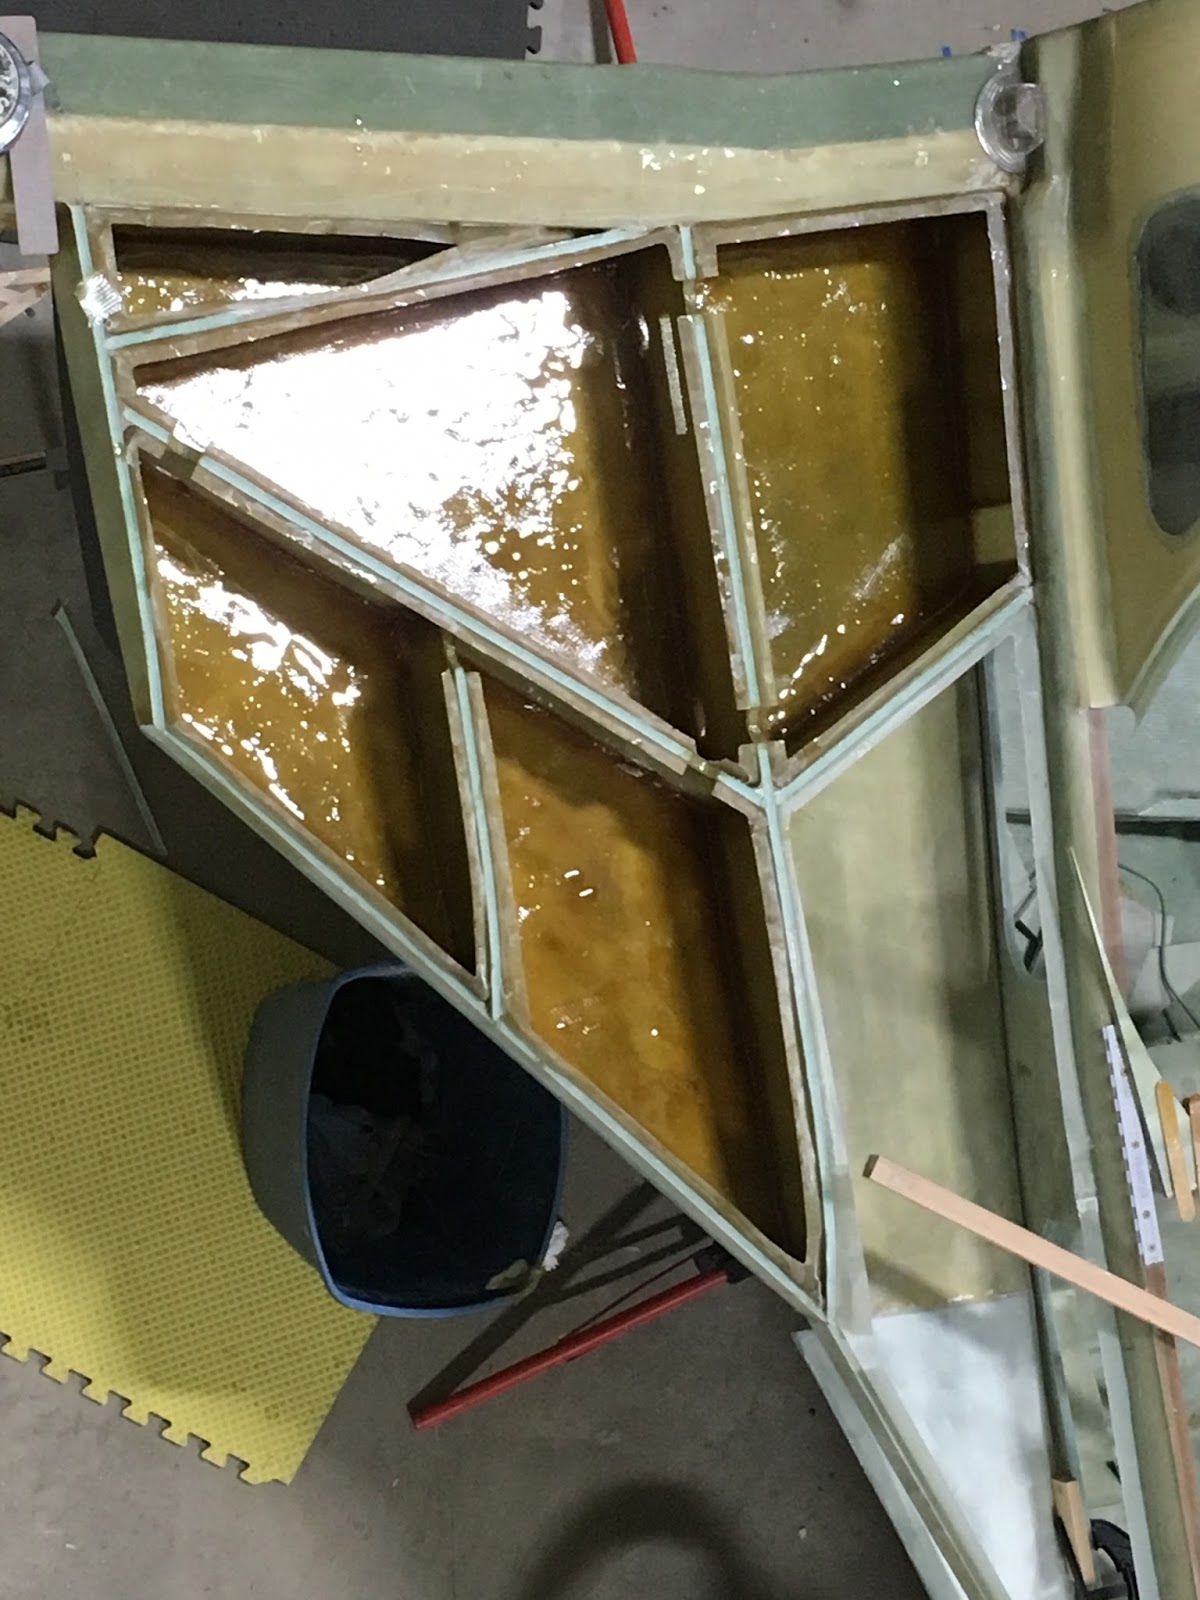
| EZpoxy (amber colored) for the fuel areas and MGS (green) used elsewhere. |


 |
| A half a stainless steel drain screen provides plenty of surface for fuel to flow through and stop large debris. |

 |
| Two vent lines run into each tank. One to the leading edge and the other to the back of the tank. Plans say to run one to the leading edge. Reports of siphoning or raw fuel venting were circumvented with this "mod". |
 |
| The trick to drilling an additional vent hole in the rear vent line is to clamp a washer to the line to guide the drill bit. The rear vent line goes through R33 so this hole allows air to escape if there's a bubble on the inside of R33. The other line terminates above the leading edge drain. |
 |
| BID tape was applied to secure the vent lines inside the tank. The additional rib is seen here. |
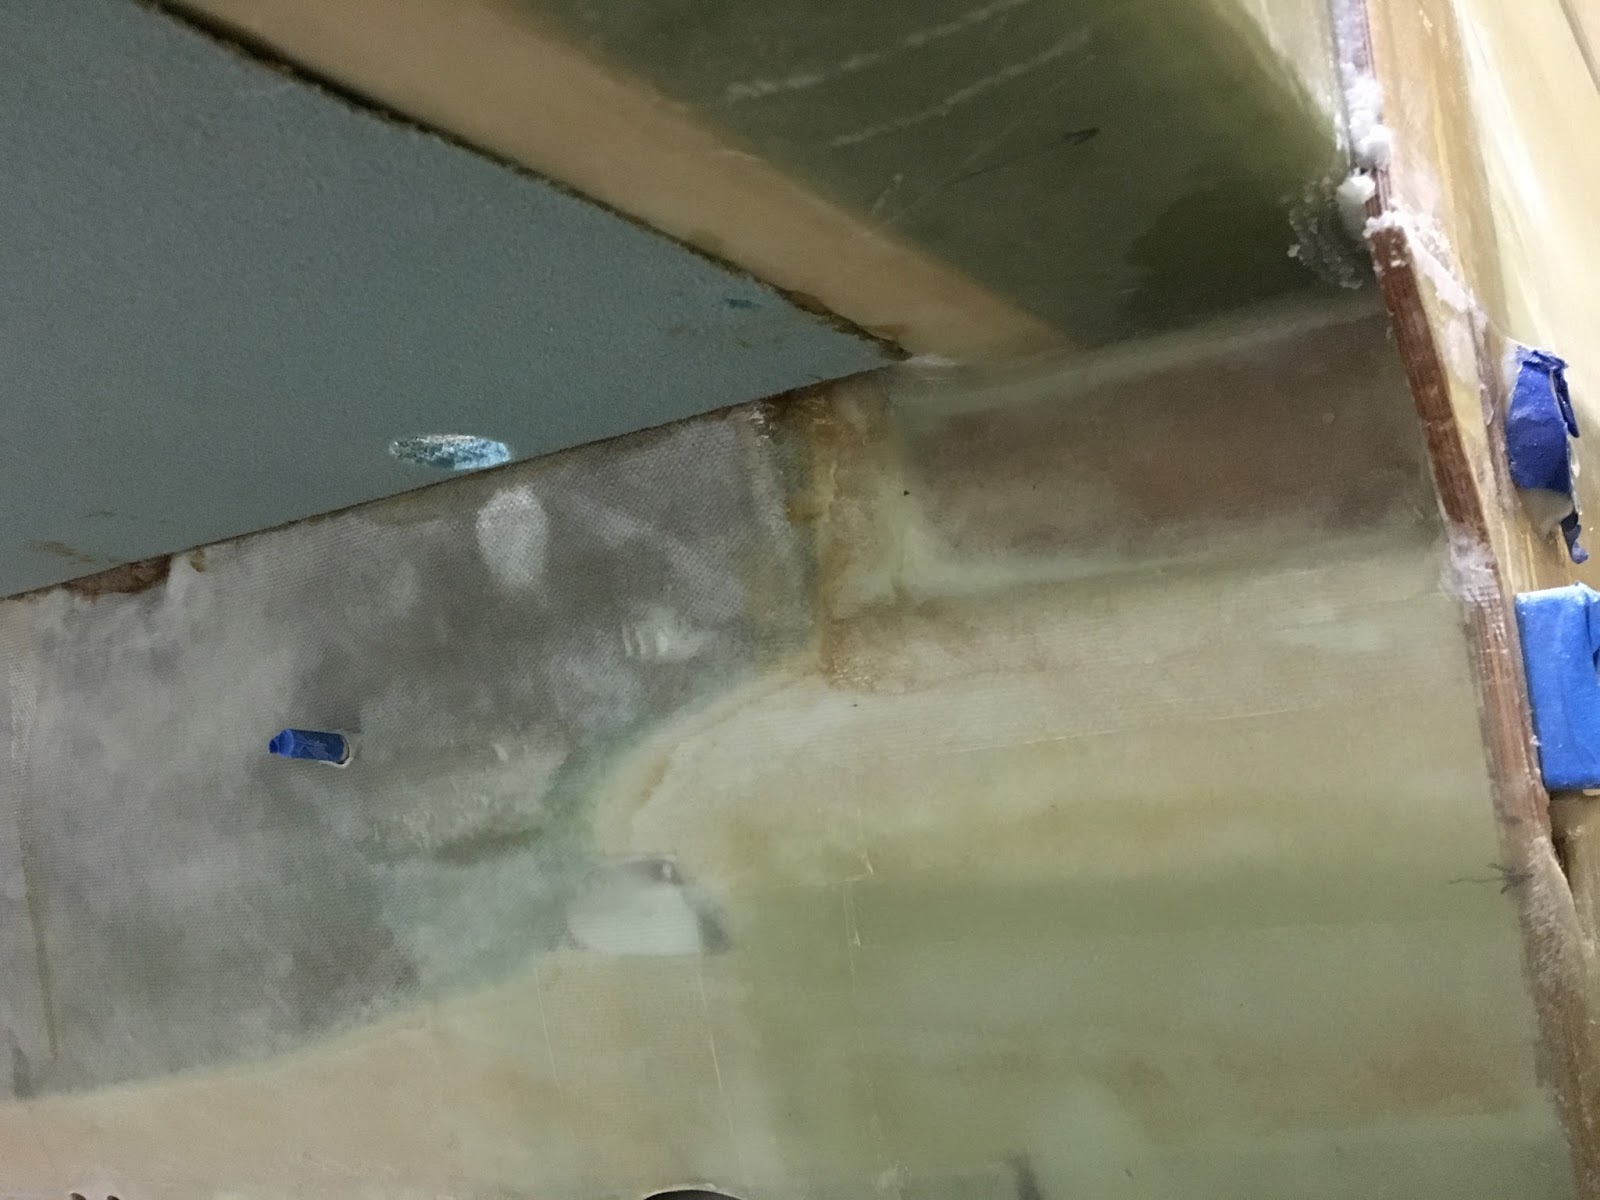 |
| The sump hole and fuel line (with blue tape). The bottom outside skin is not yet glassed. |
 |
| The right bottom skin is almost ready. |
 |
| Site gauge is floxed in. |
 |
| Fuel drain parts/prep. |
 |
| The output stands are very adjustable and handy. |
 |
| Plenty of clamps and several types of stands hold the bottom skin in place. The bottom of the strake is flat but slopes so fuel will drain to the sump. |
 |
| View of the right strake from above with T-hats trimmed and bottom skin glassed on. |


 |
| The dowel rods and the Paulk work bench help secure things. |
 |
| West 407 filler is reddish colored. |
 |
| It will be easier to sand the inside of the baggage area before the top skin is glassed on. |
 |
| Clam shells on in preparation to flip the project. |
 |
| The "space shuttle" pose. It's easy for one person to stand this up but better have one or two more helpers to go the rest of the way over. |
 |
| UNI going on the left bottom skin. |
