"no alt text" issues still occur in this blog occasionally. This was caused by dragging and dropping photos from other apps such as Facebook. Blogger doesn't actually download the photo, but uses the link which after a period of time expires.
I try to upload the actual photos when I run across these, which there were many.
Sunday, June 30, 2019
Friday, June 28, 2019
Chapter 18 Step 21 Canopy Handle
A hefty press brake is needed to bend 1/8" 2024 aluminum. I have neighbors that offered to let me use their press brakes, but one put his back in storage and the other one cant bend 1/8" aluminum. I bought most of the components to make a press brake off eBay that will fit in my 20 ton shop. The 1" bars that hold the die in place were purchased from a local metal shop at scrap price.

Several practice pieces broke when exceeding the bend radius. A scrap piece of thinner aluminum helped increase the bend radius of the blade by putting it between the work piece and the die. The removable bottom die was temporarily removed and replaced with angle iron to increase the bend radius. I had to put some blocks under the press so the handle could hang down lower when doing the end bends.
Heavy brackets for the oil cooler and throttle bracket parts are also needed so justified buying the press brake.


Here's a chart for minimum bend radius for various thickness aluminum alloys & cladding:
Sunday, June 23, 2019
Chapter 18 step 19 C3
A 3/8" drive socket was used to hold the 3/8" stock so it could be turned. My lathe only has three jaws so won't hold a square object centered.


Saturday, June 22, 2019
Chapter 18 Step 19 C8 canopy frame screw holes
After drilling the pilot holes for C8, I used the countersink from a Kreg pocket screw jig to bore the holes close to specs. Then used the larger drill bit in a drill at first to get the depth closer. Then I put the bit in an arbor to run by hand. I made a feeler gauge to check depth and then cut teeth into a longer screw's head to flatten out inside face of the screw hole. Have to be careful when drilling deep as the bits want to grab.

Thursday, June 20, 2019
2019/6/20 Update - Canopy latch hardware
I was still lacking some of the canopy latching hardware. I needed the 3/8" AL 2024 square stock but isn't listed on the common supplier web sites. I found 12' of 6060 for $7 at a local metal distributor.
The first set I made using a hand held drill. It works, but the hole is slightly crooked. Probably okay since the longeron is not straight either. Maybe it's better to have it at an angle. :-)
Anyway, I decided to make a few extra sets using the table top lathe. I had to shim the stock to the correct height, but using scrap aluminum sheets of different thicknesses, got it aligned. Using a straight edge, got the stock parallel with the drill bit, then used the carriage screw to center the stock.
A modified longer latch arm will be tried since there may be some interference with the Tosten military grip. -update: Added photo at the bottom. Almost 500 flights with this modified latch. Still lacking a way to lock the canopy, but I haven't given up yet.


Monday, June 17, 2019
2019/6/17 Update
Blogger, arbitrarily has decided to import some of these landscape photos as portrait. I can't seem to rotate them within blogger.
Anyway, I went to a local auto paint store and got some Nason Base "Chevy White" for only $80/gallon. He also had some inexpensive clear coat that was "good" so will try that. Also bought another HF HVLP paint gun since the clear needs to go on pretty quickly after the base is sprayed.
I continued to work on the head rests and also the canopy latch hardware.
 |
| Add caption |

 |
| The gas spring in this drawing should show the ends with dashed lines since it should be on the foreward side of TB1. |
 |
| Fairing, sanding, priming, painting... |
Wednesday, June 12, 2019
2019/6/11 Update - Canopy TB1 redo, cowl interior sanding/filling, head rest mounting
The previous builder's canopy TB1 (turtle back bulkhead) was 1" to far aft and did not come down on the shoulder support/back rest. It appears TB1 needs to come down on the shoulder support if there was a roll over. I removed TB1 with the Fein tool and floxed and glassed it back in. A 1x2 with bondo dabs held the canopy shape while it cured. A friend watched me do some of the BID taping and commented he did not have the patience to do that type of work.
I also filled (West 410) and sanded the inside of the carbon fiber cowls to prep for epoxy primer. Several folks said you want the inside to be light or white to make it easier to see. Also a smooth finish will be easier to wipe clean.
The bottom cowl already had some oil drips when some oil dripped out of one of the plastic spark plug caps. I tried cleaning with wax grease remover (bleh), then Dawn (meh) and then used Gojo and rinsed it a few times, then used Dawn to clean off the Gojo and it seems to have cleaned it. No evidence has appeared on the 410 filler. Fly specs on some of the epoxy wiped surfaces come off easily with Woolite and warm water.
One of the Camloc holes needed to be repaired and some other small repairs were made on the cowl edges.
I trimmed the rear arm rests where the fuel site gauges protrude. Then I sanded the arm rests and pondered whether to fill and sand them or just epoxy primer them. I studied the inside of the nose where the SPI primer had been used to ascertain if the primer would fill the peel plied texture and see that one coat probably would be glassy smooth/easy to clean.
I've only got one quart of Zolatone but think I'll only use it on the canopy and interior visible surfaces so may be enough. I think some builders used two quarts, but they did everything including seat ribs, thigh supports and under the instrument panel.
The epoxy primer appears to be pretty tough. A drop of flox had cured to a spot inside the nose and it was like it was stuck to glass. It was strong enough to hold a wire harness and fuel lines in place.
Thursday, June 6, 2019
2019/6/6 Update
I've been busy, but obviously not busy updating my blog...
More pour foam was ordered and received that was needed for fairing the turtleback and sumps.
Zolatone was ordered and should be here this week.
Received confirmation the engine should be ready in a few weeks.
Some Souther Polyurethane epoxy primer has been sprayed in the nose and the cover was glassed on.
The canard cover and mounting flange were made.
New canard contour templates were made.
The canard epoxy wipe has been done.
Some dimples were added inside the nose to increase clearance for the Dennis Oelmann rudder/brake pedals.
Retaped the turtle back windows to prep for Zolatone.
Here's a few photos of progress...
 |
| Bondo curing with weight pressing down on canard cover. |
 |
| Box tape was applied to the cover and a BID flange was laid up on the canard. |
 |
| Dimples added for brake pedal clearance. Masters can nearly fully compress now. |
 |
| Camlocs/flange for canard cover. |
 |
| Canard cover in place. The camloc receptacles were removed and remounted after removing a little glass in order to achieve proper thickness for the -6 camlocs I use on the other covers as well as this one. |
 |
| Canard epoxy wiped. |
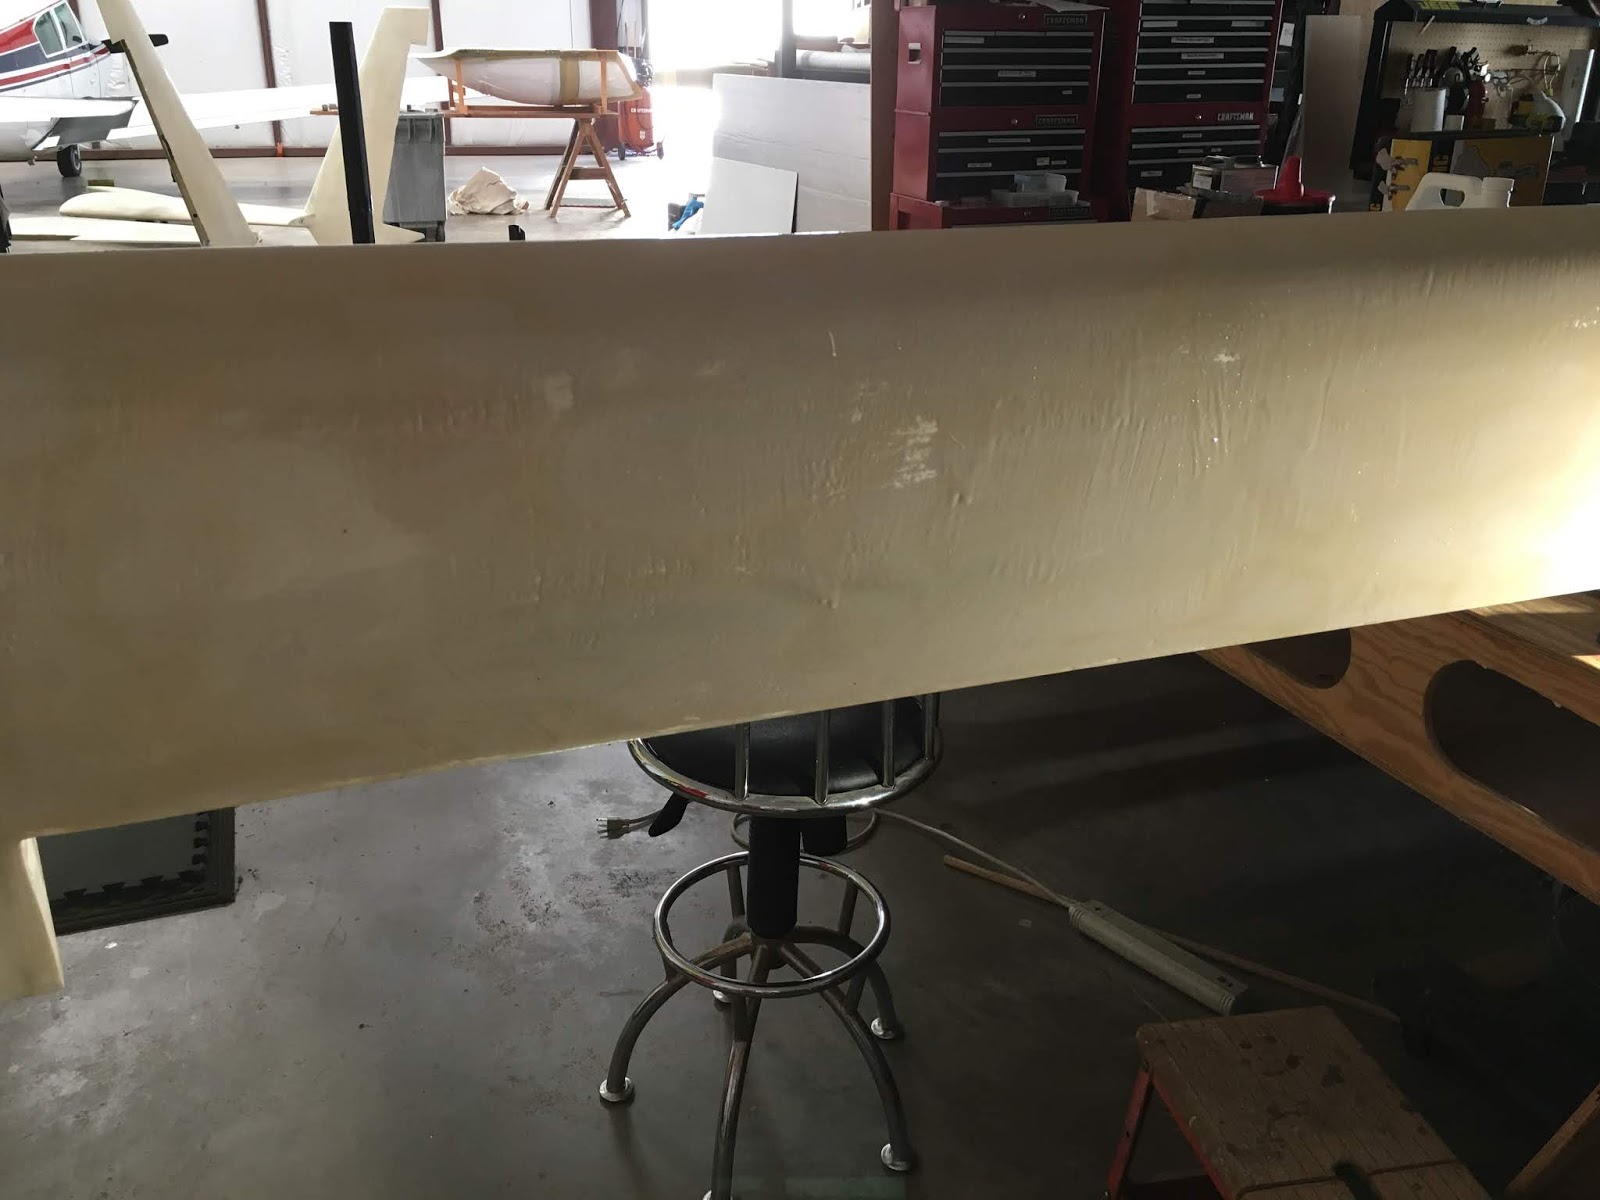 |
| A few dry spots were found in the epoxy wipe after turning off the bright lights. |
 |
| I made several contouring templates. The 2x4 on top was overcut by the thickness of sandpaper and used on the top of the canard. The bottom template was overcut the width of the bandsaw blade and used to check progress while sanding. The top template was cut right on the line. Both were traced onto graph paper to compare accuracy. |
Subscribe to:
Posts (Atom)