Showing posts with label Chapter 15 Firewall. Show all posts

Wednesday, March 31, 2021

Chapter 15 Cabin Heat valve (not per plans)

I thought I'd posted this previously, but apparently was among a batch of photos that expired as a result of drag and drop metadata.   Here they are again.


A rectangular piece was cut and rolled, then a cut line was marked on the inside edge.

Some tac welds in the .025" SS.

It was easy to blow through using .030 wire.  I should have had .025".

One hole was drilled for the butterfly shaft and then then where to drill the opposite hole was found with a folded piece of paper.

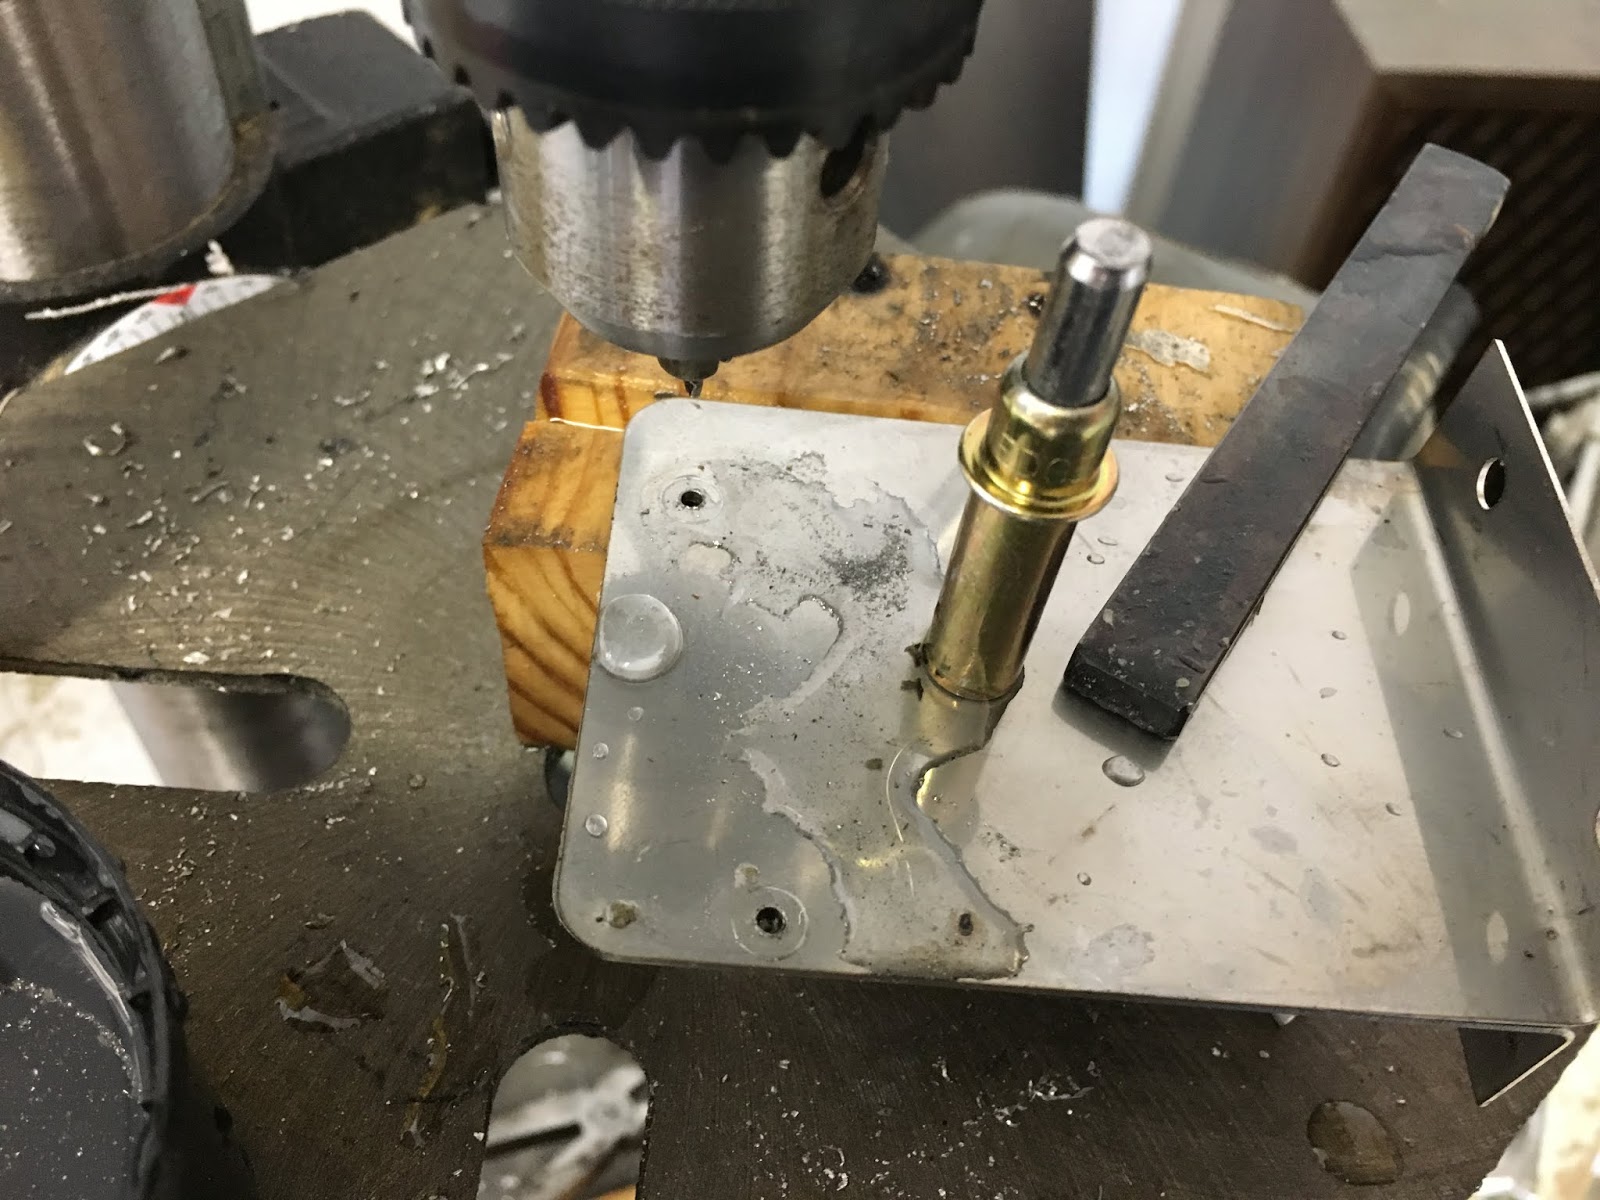
Drilling stainless is a pain.   The drill bits love to grab when they finally break through.  Backing up with wood helps.

I cut a tube at an angle and traced around it to make a pattern for the butterfly.

The butterfly template.

The installed valve.   Riveted baffling material makes the flexible gasket on the butterfly.  A drilled brass rod secures the butterfly.   The valve fits snuggly.

Engine side view.   It's slightly egg shaped but a hose clamp on the scat tube forces it round.


Friday, March 29, 2019

2019/03/28

I used some 2024T3 angle, nut plates and .063" 90's were used to support the front of the radio stack.   The angle is notched to accommodate the Dynon Knob Panels.


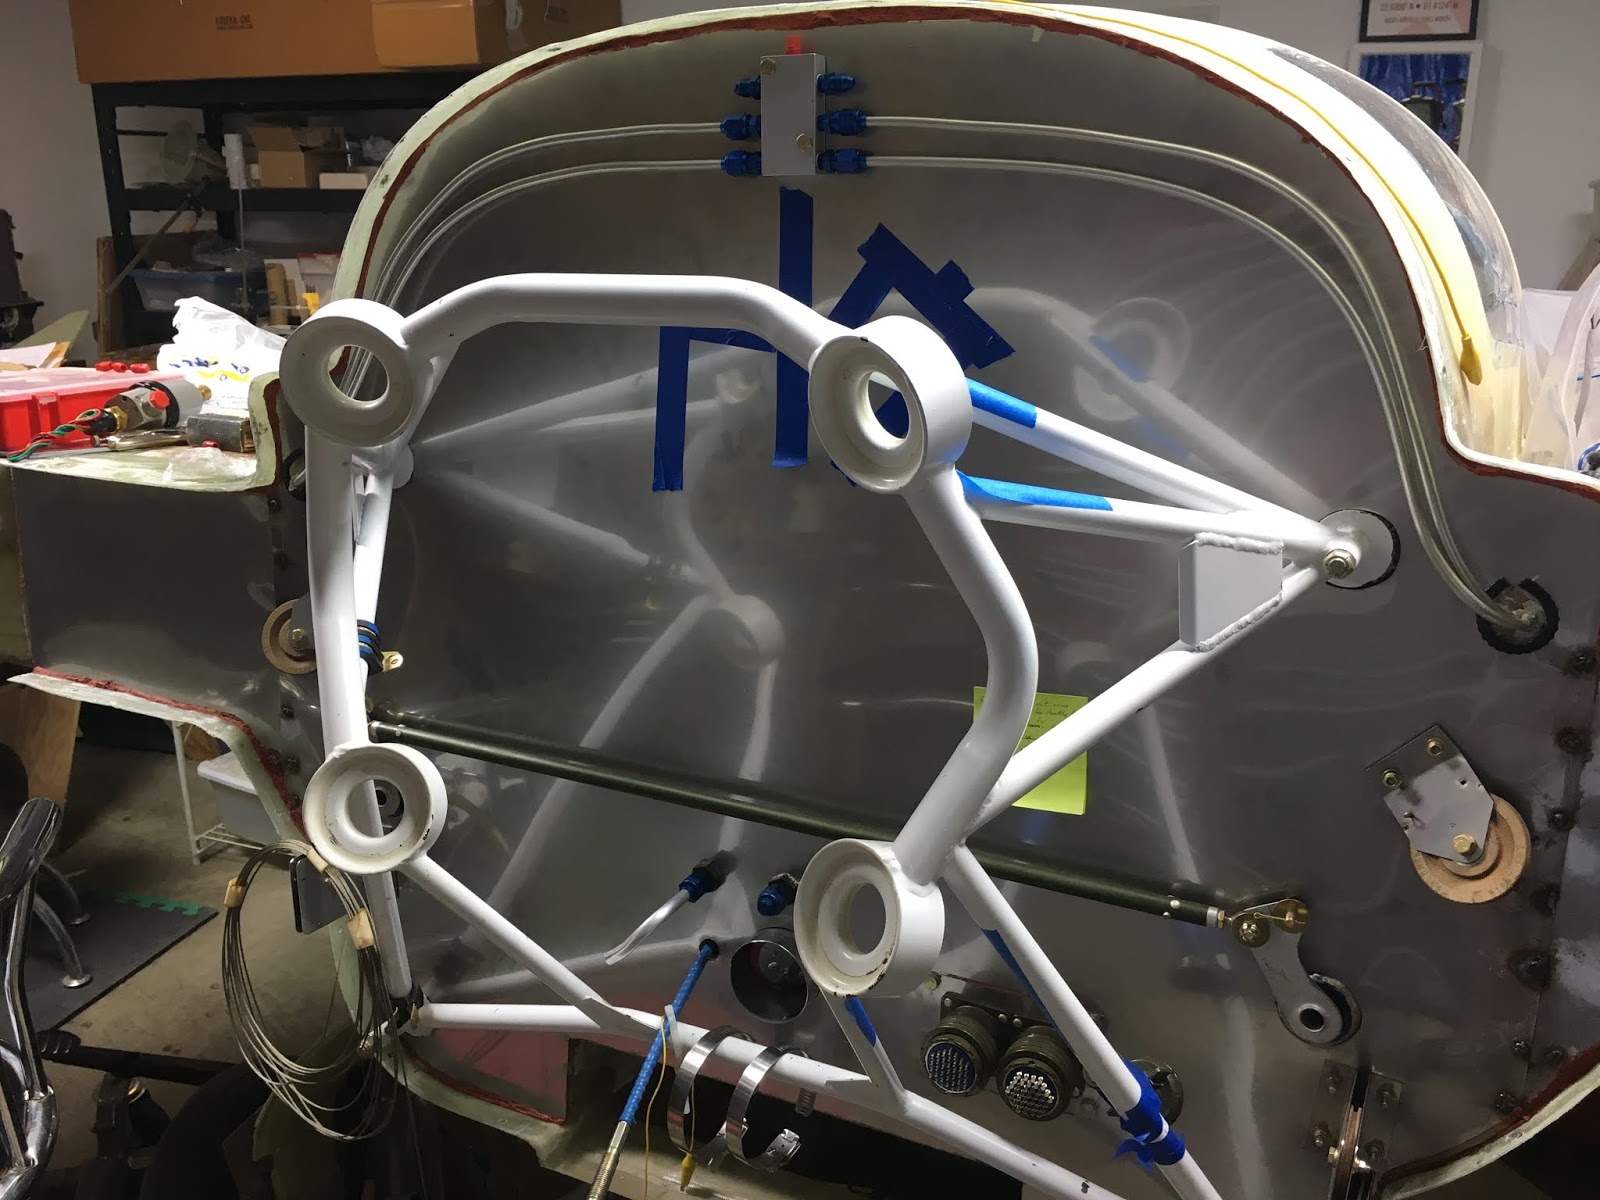
Since the engine is pulled and the vent lines were still sticking straight back, it was time to terminate them into the manifold.  The left and right vent lines to be fabricated.   Some clamps and bolts through the firewall will secure the lines.   I'll try to use the same bolts for mounting the master and starter solenoids.   Blue tape marked the outline of where the oil filter and pad mount alternator need clearance.   


Thursday, January 31, 2019

2019 01/30 Parts run & Fuel Pump mounting

Downtown Fort Worth

Yesterday, my friend & I flew over to Lancaster and visited ASOD (Air Salvage of Dallas).  A visit had been on our bucket list for awhile.   A mixture cable was acquired that should work as the throttle cable. It was chilly for Texas, but the heater works good in his bird.  

I've tried a few solutions to use as hard points.  Tack welding a nut to a washer was one thought.  Pretty easy to blow through the side of these little nuts though.
A washer hole drilled out to 1/4" and a #8 Rivnut allows for a little tolerance since the AN3 bolts or Clickbonds are to large for the fuel pump.  These aren't locking threads so I'll use blue Locktite on the screws when the pump is installed.
Floating nut plates riveted to some .063 6061 was another considered.
I opted to use the Rivnut/washer solution.   The screw holes penetrate the bottom skin so will double as drain holes if necessary when doing maintenance.  Flox and BID will secure the fasteners.  The screws will be flush with the bottom skin.

Test fit before floxing and glassing.


Tuesday, January 15, 2019

2019 01/15

Andair Dual Gang Fuel selector valve, SDS fuel pumps, 40 micron fuel filter.   Click bonds will be used to secure the fuel pump. *Update-Click bonds were to large so I used rivnuts secured to washers that are floxed into the floor.   The thigh support will be secured with hinge pins to allow access for maintenance.
Completed another leak test and repaired a small leak on the left tank where the fuel probe line came in under the longeron.


Pilot side of valve/banjo valves.

Close up of lines and banjo valves.


Matco brake lock valve had some metal shavings in it.   Need some AN-3 1/8" nipples and cable to complete its installation near the pilots left leg.

Tuesday, September 25, 2018

Chapter 15 Firewall & 22 Electrical - EI/EFI, Dynon EMS, ACK ELT, Princeton Fuel module mounting

The Dynon EMS module and SDS EI/EFI modules need to be mounted on the cold  side of the firewall.   Mounting them on a removable shelf that is cut to still allow quick access and inspection of the engine mounting bolts and hard points should provide for easy maintenance and changes to be made in the future if needed.   

The ELT needs clearance for the antenna, and two small cables (DIN for GPS and remote panel).

The Dynon EMS module has an LED by the network connector (right side) that should probably be easily visible.
The CHT/EGT inputs are through the brown wires.  The additional inputs (oil temp, pressure, etc.) are through the multicolored wires (silver connector).   
The dual SDS controller has two relays that also need to be mounted.   There are 6 connectors on this module.

The rectangular hole for the bulkhead connectors and round hole for cabin heat are visible here.


A couple of removable plugs for leg bow inspection were made by using a 4.5" hole saw and cutting from scraps of left over strake material.  The foam will be microed.


BID covered strake foam shelf was bonded to the round covers with West 704 filler.


The Princeton modules will mount on the triangular space.

The orientation of the modules is limited by the available space.

Two Amphenol 37 pin connectors are mounted to a plate that covers a rectangular hole that is large enough for the D-connectors to pass through.   A nut plate is on the cold side of the firewall.   


Rotation was not limited by the clamp on the torque tube.


One of the few photos of the Dynon SV32 roll servo.   The ELT ground plane (copper foil tape) should be adequate.  West 407 filler was used to pot washers.


Access to the servo is through the opening under the heater duct hole.


Monday, June 18, 2018

Chapter 15 Firewall - cutting and fitting

A deviation from plans is to use Stainless Steel rather than Aluminum.   
Edit/update - drilling to fast will heat up and dull drill bits.  Go slow and apply pressure for better results.
Made a template from cardboard.   Cleared off one of my 4x8 workbenches, placed scrap board to put underneath while drilling.  Borrowed a set of knock outs from a neighbor to make clean hole cuts.  The electric shear cuts wider sheets well but didn't work very well for trimming edges.  An angle grinder with a cut off wheel works pretty well for trimming the edges, but have to be careful not to heat the metal up to much.  The shavings from this are like little razors.  

Stainless can be hard to work with.   The hole saw grabbed and tore the metal a little here.   This hole was just for the knock out bolt.  Fortunately, the knock out cut this part out.

The sheet is clamped in place.   The cardboard helps align the knock out.

A uni-bit seemed to drill holes pretty well without tearing.  A sharpie marked the stop depth on the bit.

Still needing a little trimming, but is lining up pretty well.
Holes not cut yet that are needed are for the EMS system's D37 and D25 cables, alternator wiring, SDS EI/EFI, AFR probe wires, cabin heat, throttle, fuel source and fuel bypass return.

Stainless Steel parts from Cozy Girrrls.  Not all holes are drilled.  
Saw this technique either on an EAA video or another metal builder's site.
Cleco clamps hold the paper to the pulley so the holes can be marked with a sharpie.   Small dots mark where the cotter pin holes need to be.
  Keep the drill bit cool (I used water) and take your time.  These little holes each took about 10 minutes.   Black carbide drills work.   The drill press doesn't go slow enough and heats the bit up.

The sections covering the spar were added and fastened using rivets.   Some of the holes needed to be elongated slightly and edges trimmed in a few spots.   I put electrical tape on the inside edge of the holes for the vent lines to try to protect the aluminum from scratches when putting the firewall on and taking it off.    There is still a protective plastic sheet on the stainless steel.   A few more holes need to be cut.