Marc Zeitlin's clamp modification to the EZNoselift should eliminate bolts unscrewing and or bending. It was not hard to install.
Showing posts with label Chapter 13 Nose - Nose Gear & Brakes. Show all posts
Showing posts with label Chapter 13 Nose - Nose Gear & Brakes. Show all posts
Tuesday, January 23, 2024

Tuesday, September 1, 2020
Electric Nose gear pin update
Received these from Jack for the electric lift pin update. Designed to help retain the bolts from loosening.

Monday, August 26, 2019
Nose wheel bearing preload
The nose wheel bearing race should not spin on the axle. The spacers needed a few thousandths shaved off the inside surface and each measures at about 1.752" thick. Starting thickness was closer to 1.755".


Saturday, August 24, 2019
Polished Nose Gear
120 grit, then 180 grit bristle Dremel wheels were used. Then filed off the high spots with a small fine file, hit with the wheels again, then polished multiple times with Mothers Mag & Aluminum Polish.
I asked for suggestions and replies ranged from "leave it as is", "powder coat it" or polish it.


Thursday, August 22, 2019
Nose wheel pivot assembly/fork polish
 |
| The MKNG-15 and MKNG-16 are sand cast aluminum. I've inquired about polishing these and ordered some abrasive accessories for a Dremel. |
 |
| After some light filing, 120, 180 grit and aluminum polish. About 5 hours of work. |
 |
| The spherical bearings are not protected by a boot. |
 |
| There are some machined spacers to limit the preload on the bearings. |
 |
| This Teflon seems like an optimal lubricant and corrosion inhibitor for the spherical bearings since they're not protected by a boot. |
Thursday, June 6, 2019
2019/6/6 Update
I've been busy, but obviously not busy updating my blog...
More pour foam was ordered and received that was needed for fairing the turtleback and sumps.
Zolatone was ordered and should be here this week.
Received confirmation the engine should be ready in a few weeks.
Some Souther Polyurethane epoxy primer has been sprayed in the nose and the cover was glassed on.
The canard cover and mounting flange were made.
New canard contour templates were made.
The canard epoxy wipe has been done.
Some dimples were added inside the nose to increase clearance for the Dennis Oelmann rudder/brake pedals.
Retaped the turtle back windows to prep for Zolatone.
Here's a few photos of progress...
More pour foam was ordered and received that was needed for fairing the turtleback and sumps.
Zolatone was ordered and should be here this week.
Received confirmation the engine should be ready in a few weeks.
Some Souther Polyurethane epoxy primer has been sprayed in the nose and the cover was glassed on.
The canard cover and mounting flange were made.
New canard contour templates were made.
The canard epoxy wipe has been done.
Some dimples were added inside the nose to increase clearance for the Dennis Oelmann rudder/brake pedals.
Retaped the turtle back windows to prep for Zolatone.
Here's a few photos of progress...
 |
| Bondo curing with weight pressing down on canard cover. |
 |
| Box tape was applied to the cover and a BID flange was laid up on the canard. |
 |
| Dimples added for brake pedal clearance. Masters can nearly fully compress now. |
 |
| Camlocs/flange for canard cover. |
 |
| Canard cover in place. The camloc receptacles were removed and remounted after removing a little glass in order to achieve proper thickness for the -6 camlocs I use on the other covers as well as this one. |
 |
| Canard epoxy wiped. |
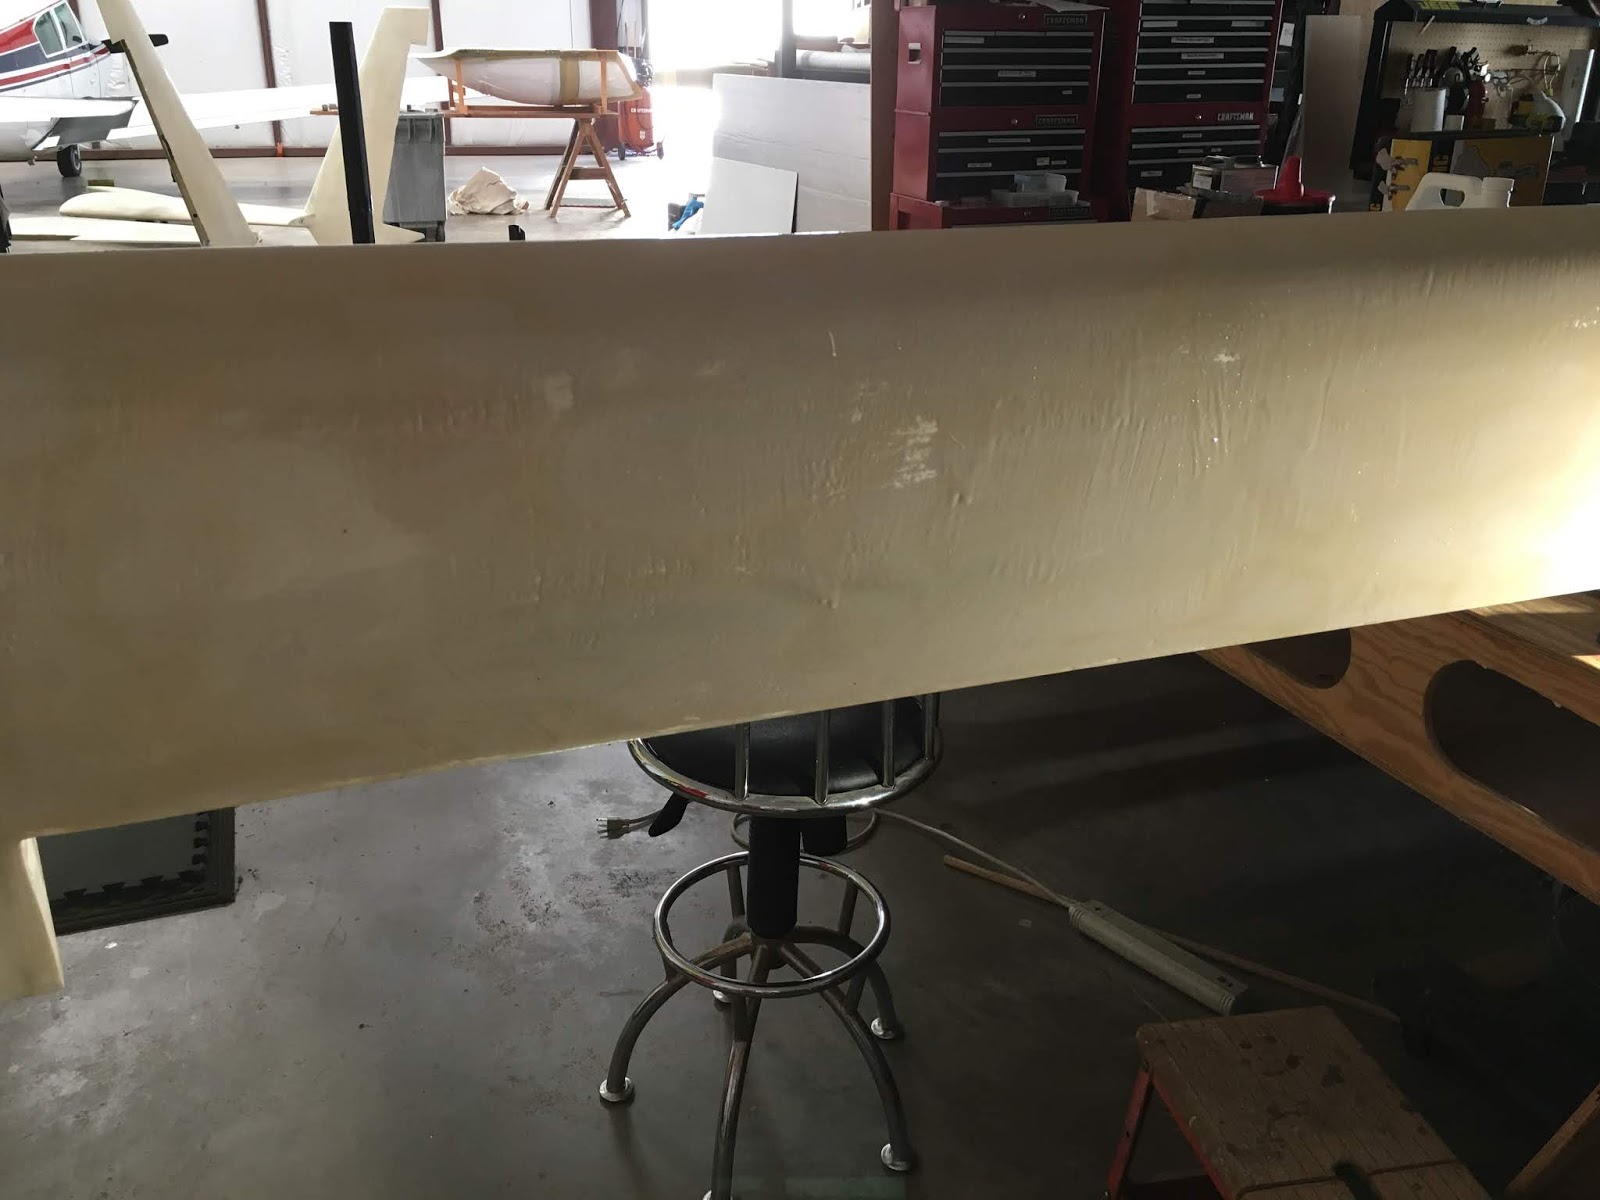 |
| A few dry spots were found in the epoxy wipe after turning off the bright lights. |
 |
| I made several contouring templates. The 2x4 on top was overcut by the thickness of sandpaper and used on the top of the canard. The bottom template was overcut the width of the bandsaw blade and used to check progress while sanding. The top template was cut right on the line. Both were traced onto graph paper to compare accuracy. |
Wednesday, April 17, 2019
2019/4/17 update
Canopy hinge installation is complete.
Pitot static tube is installed.
Canopy/Fuselage cover is cut.
Nose/nose cover is glassed.
Nose access door is cut.
Pitot static tube is installed.
Canopy/Fuselage cover is cut.
Nose/nose cover is glassed.
Nose access door is cut.
Tuesday, April 9, 2019
Chapter 13 Step 11 Nose Door
 |
| Top cover is hard shelled with micro and sanded smooth. Door outline is marked in pencil. Ignore the mistakes. :-) Per plans, the cover would only go to the top of the door. I'll make a cut there later. |
 |
| 4 Mil plastic (Frost King brand from HD) traced for BID pattern. |
 |
| A cut list helps quite often. |
 |
| Glass weighed to determine exact amount of epoxy needed. |
 |
| Glass wetted between 4 mill plastic. Flipped over so pattern was on the bottom. Then rolled the BID and pattern off the former bottom layer of plastic and carried over and placed on the box tape/peel ply on the nose cover. |
 |
| Hard shelled nose cover on bottom, then box tape, then peel ply, then 3 layers BID, then peel ply on top. |
 |
| Lay up popped off the box tape. |
 |
| Box tape removed. Fein tool is used very delicately to trace the pencil line and cut underneath the hard shell. |
 |
| Vacuum off, sand and fit the door into the nest. |
Chapter 13 Step 11 Top Cover
I'm deviating from the plans a little here and am shaping the canard cover with the nose cover.


 |
| Template for the fuselage top cover made from the M drawings. |
 |
| (not per plans) - I'm making the canard cover during the same step as the nose cover to avoid making an exaggerated hump over the canard. |

 |
| Clark foam is hard shelled with micro. |
 |
| Door pattern drawn in pencil, then box tape applied over the top. |
 |
| 4 mil plastic was laid over the nose and traced on with a Sharpie. Two peel ply sheets were cut to go on top and bottom of the lay up. |
 |
| The glass weighed 4.6 ounces which wetted perfectly between two sheets of 4 mil plastic. |
 |
| Some epoxy was brushed on the box tape, then the first layer of peel ply was applied. The layup was applied, top layer of plastic replaced with peel ply and squeegeed. The pencil pattern can be seen through the translucent glass. After cure, the door pattern is traced onto the top layer of peel ply. The top layer of peel ply is left on for the next step. |
 |
| After cure, the cover is pulled off the box tape. Bottom layer of peel ply removed. A fresh layer of peel ply is laid over the box tape. 1" wide BID tapes, 3 layers is applied to the edges of the door. |

 |
| The cured cover is placed on the wetted 1" tapes and left to cure. The pencil marked top layer of peel ply helps align the cover and left to cure. |
Another blog entry covers more of the nose door task...
I opted to use Camlocs to secure the door and added a lip on the forward edge. A foam core was added for stiffness.


Monday, October 2, 2017


Tuesday, September 26, 2017
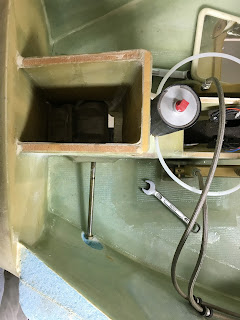
Chapter 13 - access clearance for nose gear bolt
Vance suggested removing foam to make clearance if/when the nose gear pivot bolt needs to be removed. Otherwise, will need to drill a hole in the side if this needs to be removed later. Some flox and BID patched the pocket.

Chapter 13 - Landing Brake hidden screw mod
 |
| The screw heads were ground flat, notched and recessed similar to the hinge and rudder screws replaced by click bonds. The regular click bonds shafts weren't long enough. |
Sunday, May 12, 2013




Subscribe to:
Posts (Atom)