Tuesday, October 29, 2019

2019/10/29

Mixed 40 .oz of primer and shot the bottom.  


The inside of the carbon fiber oil door with one shot of primer.  Some pinholes are visible.  Will try another shot and see what it looks like.

Yeah...that's rain water.   It started misting rain when I was spraying.  Got inside as quick as I could and blew the water off with a leaf blower.  Contacted SPI support and they said just to let it dry and finishing spraying later.

The dry (didn't get rained on) side of the leg fairing after 2nd coat.

The mist caused a major orange peel effect, but seems to be "melting" as it dries.

Close up of the Zolatone with 3 layers of water based Polyurethane.  Looks kind of orange due to incandescent shop lights on it for heat/drying.

Saturday, October 26, 2019

10/26/2019

After sanding the barrier coat, had a few spots that still needed filled.

The inside of one of the covers with no fill and little sanding shot with primer.

Filling the small nicks, gouges etc.   The straight edges of these patches are much easier to feather than a round splotch.

Some transition areas still had quite a few low shiny spots.   I used a scotch brite pad and recoated with very wet micro, pulled the tape off, let cure, then sanded and feather the areas.

Inside of the carbon fiber cowl with a light epoxy wipe and little sanding.  The weave texture is present.   The inside of the cowls are much easier to wipe clean if they're painted.
We had warm enough temps outside to shoot the second coat of primer on the inside of the cowls and arm rests.

I sprayed the inside of the canopy with Zolatone "Marble Stone" over one coat of SPI primer that had cured.   I used the 1.8 tip (largest I had).   The instructions recommended 2.2.

Friday, October 11, 2019

2019/10/10

Vance Atkinson (EAA Tech Adviser) and Scott Fish (Cozy Builder) visited today. 
Scott is preparing for his first flight and discussed various details with Vance.

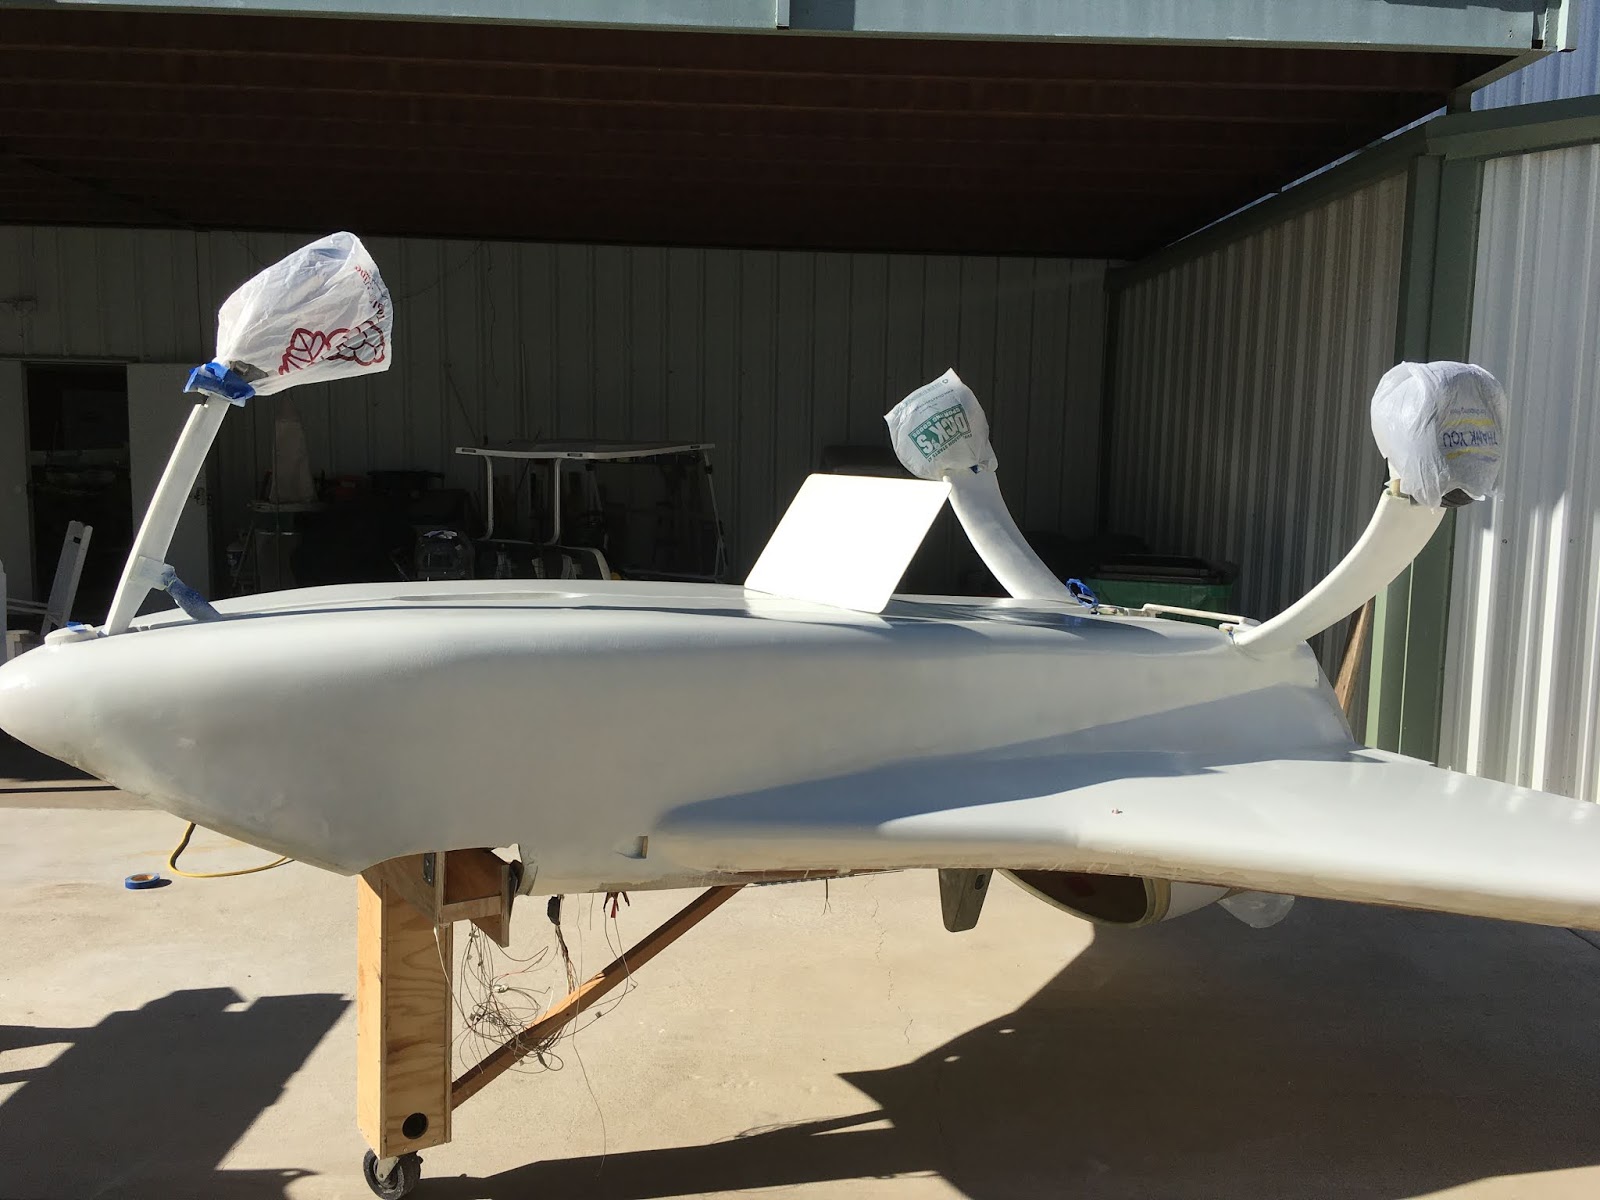
Vance examined my project's progress and advised I needed to do more sanding!  LOL

Scott complimented how good the surface was looking.
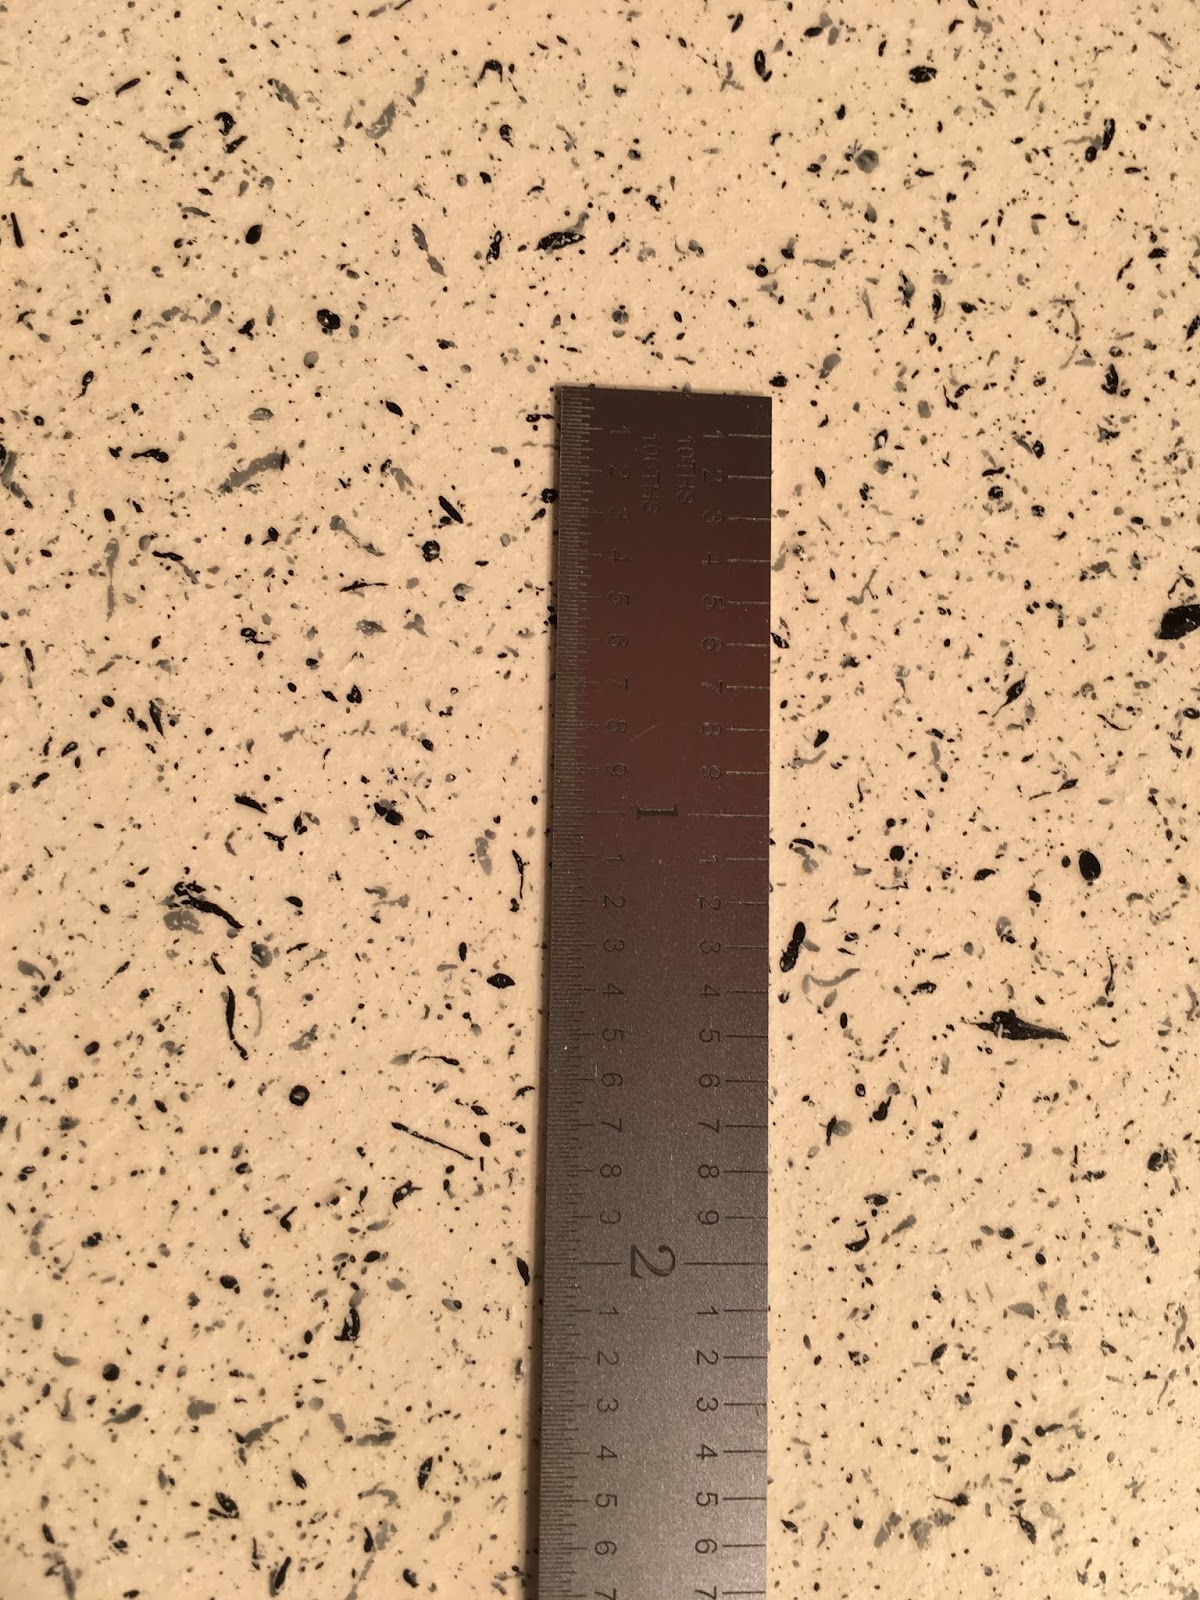
I asked Scott how well the Southern Polyurethane Epoxy Primer covered and whether he had pinholes.   He said he did have some pinholes where the primer was over dry micro.   So he fixed the areas where he had pinholes with more micro and sprayed again.

We talked about quite a few things and time passed to quickly before Scott had to leave.

Chapter 25 Barrier Coat

I used a single coat of epoxy as a guide coat.   The low spots were shiny.


There was an ugly joggle near the sump on one side.  Some pour foam filled it in, then some micro and a BID patch over it should keep it from cracking.


I used green painters tape to mark some low spots that needed filled in a little more.  I scuffed up the shiny epoxy first before putting some 410 filler on so had some white micro underneath the cream colored 410 to help see the re-filled areas.

Box tape and some painters tape was used to keep the cowl from getting bonded to the cowl lip.  Some of the cowl screws needed a little tap with a screwdriver bit and hammer to break them loose.   The hack saw blade worked good for opening up the seam.
Still not perfect but you can see how much a dust ridge shows in the light.

The low spot is nearly gone.  An AN washer is casting a several inch shadow for reference.


West Systems manual instructs to roll and tip the barrier coat on.  The plans say to squeegee and wipe the excess off.  

The roller left an orange peel surface and the brush smoothed the ridges.  Each layer is applied at alternate angles.

3 layers of epoxy on.

Some runs on the vertical surfaces.


Pinholes in the epoxy were prevalent on the horizontal surfaces caused by out gassing/not squeegeeing.  OTOH, the thickness of the epoxy was very consitent whereas the squeegee method I used on the wings resulted in waviness but no pinholes.

Initially I was using 180 grit wet sand to eliminate the shine and identify low spots again.

Still sanding ....

...and more sanding.

Wednesday, September 25, 2019

Chapter 23 IO360 Engine Overhaul Video

As a reference:
IO360 Engine overhaul video

2019/09/25 filling and sanding the bottom

Micro was applied to the bottom of the strakes, fuselage, cowl mating edge and gear legs.  The first layer of micro doesn't adhere very well if it is to dry.   Any micro applied later needs to be slightly wet or it rolls up and doesn't adhere well either.  To dry and it wont stick, to wet and it will be heavy and a little harder to sand.

I like using a flashlight in the dark (bottom photo) as an alternative to a guide coat.  In my opinion, after doing this for awhile, it becomes easier to see and then feel the imperfections.   


Coarse grit paper (36,40, 80 grit) and tools are used to knock down the peaks and ridges, then finer grit is used to smooth the coarser grit marks.

The dips/peak imperfections here are less than .04".  Another round of fill/sand in this area, then the barrier coat will go on.

Sunday, September 1, 2019

2019/09/01

Small amounts of pour foam was easy to apply around the leg, fairing and cover.


Found the cover needed to be trimmed back a little in order to be able to remove it after adding the leg fairings.


Some pour foam was added/sanded to eliminate some low spots on the sump fairing.

After glassing the fairing and sumps, rather than use peel ply I applied micro (fill) to the tacky glass and epoxy thinking this will save a step and eliminate some waste.  Temp was mid-90's, using West 209 hardener which cures relatively fast at this temp..  

Monday, August 26, 2019

NACA inlet

The NACA inlet opening should be 1.5" wide per Terry Schubert.

Irwin razor saw.
NACA after opening up the inlet to 1.5".   

Nose wheel bearing preload

The nose wheel bearing race should not spin on the axle.   The spacers needed a few thousandths shaved off the inside surface and each measures at about 1.752" thick.   Starting thickness was closer to 1.755".